Categories
Categories
- Home
- KITS
- BEAD WEAVING
- MONET'S GARDEN BRACELET INSTRUCTIONS DOWNLOAD, (1 unit)
MONET'S GARDEN BRACELET INSTRUCTIONS DOWNLOAD, (1 unit)
Product Description
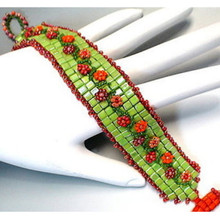
MONET'S GARDEN BRACELET
Designed by: Kathleen Lynam
BW2-FR-01
INTERMEDIATE LEVEL
-- Bead Weaving Sequence
-- Lesson: Square Stitch and Fringe
-- Bracelet
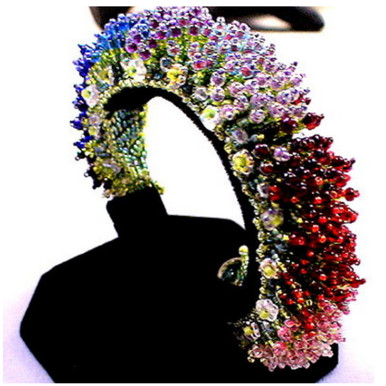
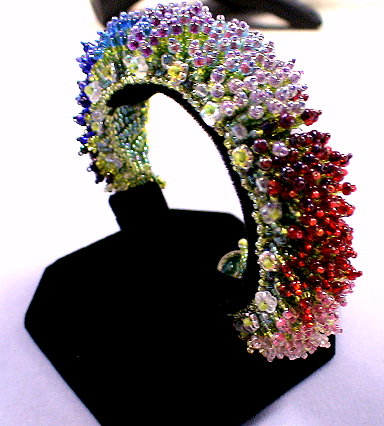
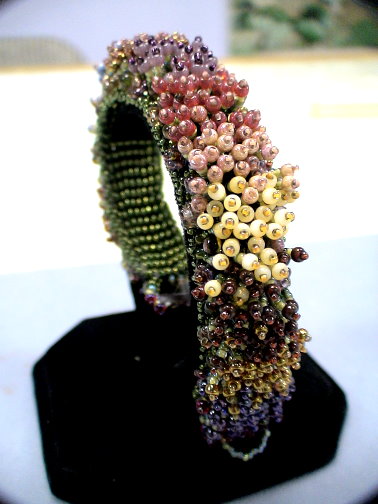
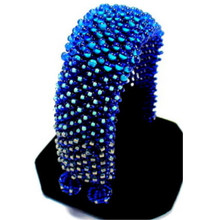
A vibrant garden of seed beads! A unique color blending technique with simple fringe enhances this square stitched base.
NOTE: Regular retail and wholesale store discounts do not apply to kits.
The MONET'S GARDEN BRACELET KIT
Instructions to make a 7" bracelet
Supplies to make up to an 8" bracelet
|
PLEASE NOTE: Sometimes, because of erratic supplies of beads and othermaterials,
we will need to substitute something of similar color and quality.
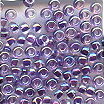
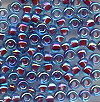
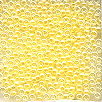
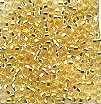
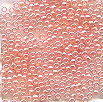
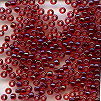
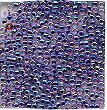
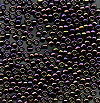
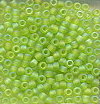
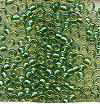
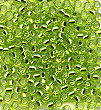
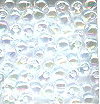
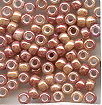
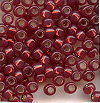
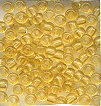
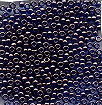
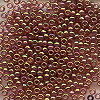
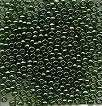
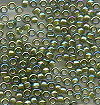
#1 SPRING PALETTE
|
|||||||||||||||||||||||||||||||||||||||||||
Colors may appear differently on different monitors.
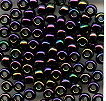
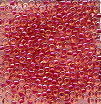
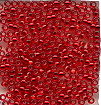
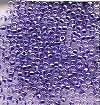
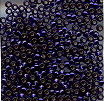
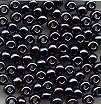
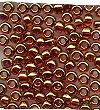
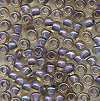
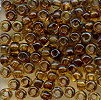
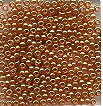
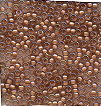
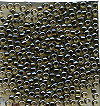
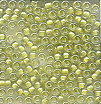
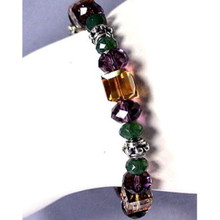
#2 FALL PALETTE
|
Colors may appear differently on different monitors.
FORMAT OPTONS
(1) Instructions Digital Download
About the Kit...
The Monet's Garden Bracelet is a fun project that students love. It is for students who have some familiarity with bead weaving and an obsession with colors.
I had been experimenting with various strategies for blending colors along the length of a bracelet. At about the same time, Beadwork issued a call for project proposals to be used in a book about what to do with your Bead Stash -- all those small quantities of lots of different colors you have left over. This was perfect.
This bracelet teaches a mathematical approach for organizing several colors within a color blending scheme. Also presented is a simple math formula for personalizing your bracelet -- that is, varying the width and length to suit your needs. The techniques here are Square Stitch and Fringing.
It is important, I believe, for a contemporary piece of jewelry to have a sense of dimensionality, movement, and a strong use of color.
Color blending with beads is always challenging. It is not like paints, where you can merge and blend colors with ease. Beads are physical objects with set colors. You can't mush them together, The transition from bead to bead in any piece, requires the eye/brain, when interacting and interpreting colors, to literally jump a cliff between the inevitable gaps between each bead. You want the viewer to have a satisfying, pleasurable journey as their eye/brain moves along that line of color-transitioning beads.
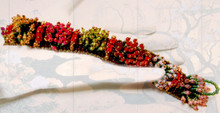
In my pieces, I love to draw on nature's inspiration. I gather flowers and plants and bring them into the bead shop to match their colors as closely as I can. For my Monet's Garden Bracelet, I've developed instructions for both a Spring Palette, as well as a Fall Palette. However, the instructions would be as useful for a monochromatic palette, such as whites to grays to black, or a Southwest palette, such as turquoise to corals to reds. Use your imagination --- and use up your bead stash, in the process!
[This re-worked version of my Monet's Garden Bracelet is slightly different than the original version published by Beadwork. This newer version includes a more elaborated fringing and edging design, and some fuller explanations of color blending and other steps in the project.�� I also vary my fringe lengths extending from each base row-- KL].
In the Monet's Garden Braceletproject...
What You Will Learn:
- Planning for Color Blending
- Creating a square stitch base
- Creative use of fringe
- Embellishing edges along your square stitch base
- Adding a button clasp
Instructions Contents
SUPPLIES LIST
This set of instructions is organized as a series of
Jewelry Design Choices:
I. Planning Your Project
IA. Conceptualizing Your Piece
ABOUT COLOR BLENDING
IB. Measurements
IC. Selecting Materials
ID. Sketching a Pattern or Graph
IE. Identifying Potential Areas of Weakness within Your Piece
IF. Visualizing Your Process
IG. Organizing Your Work Space
II. Beginning Your Project
IIA. Basic Steps
1. Create square stitch base
2. Add fringe (flower stalks)
3. Add 3-bead picot edging
4. Add Garden Border
5. Attach button clasp and loop
IIB. Dealing with Contingencies
IIC. Finishing Touches
III. Summary of Learning Objectives You Have Met
After Accomplishing This Project
IV. Next Steps
IVA. Suggested Readings
This cuff-style bracelet involves creating a square stitched base, off of which you create flower stalks (beaded fringe), a picot edging and a garden path (book binding stitch) along each side. A button clasp and loop finish off the piece. Special attention is paid to managing thread tension. A color blending strategy is applied.
|
LEARNING OBJECTIVES |
MONET'S GARDEN BRACELET |
||
|
|
BEGINNER |
INTERMEDIATE |
ADVANCED |
|
TECHNICAL MECHANICS |
|||
|
1. Managing Thread Tension |
|
INTERMEDIATE |
|
|
2. Holding Your Piece To Work It |
BEGINNER |
|
|
|
3. Reading Simple Pattern, Figure and/or Graph |
|
INTERMEDIATE |
|
|
4. Selecting Materials |
|
INTERMEDIATE |
|
|
5. Identifying Areas of Potential Weakness, and |
BEGINNER |
|
|
|
6. Determining Measurements, including Width and Length of a Piece, Especially In Relationship To Bead Sizes |
|
INTERMEDIATE |
|
|
7. Finishing Off Threads in Piece or Extending by Adding Threads |
BEGINNER |
|
|
|
|
|||
|
|
|||
|
UNDERSTANDING CRAFT BASIS OF STITCH |
|||
|
1. Starting the Stitch |
BEGINNER |
|
|
|
2. Implementing the Basic Stitch |
BEGINNER |
|
|
|
3. Finishing Off Your Piece With A Clasp Assembly |
BEGINNER |
|
|
|
4. Creating Simple Surface Embellishment |
|
INTERMEDIATE |
|
|
5. Creating a Simple Edging or Fringe |
|
INTERMEDIATE |
|
|
6. Working Stitch in Flat Form |
BEGINNER |
|
|
|
7. Increasing and Decreasing |
|
|
|
|
8. Working Stitch in Tubular Form |
|
|
|
|
9. Working Stitch To Create Open (Negative |
|||
 Loading... Please wait...