Categories
Categories
- Home
- KITS
- BEAD WEAVING
- AUTUMN'S END BRACELET INSTRUCTIONS DOWNLOAD (1 unit)
AUTUMN'S END BRACELET INSTRUCTIONS DOWNLOAD (1 unit)
Product Description
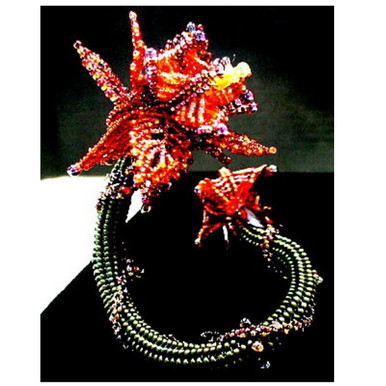
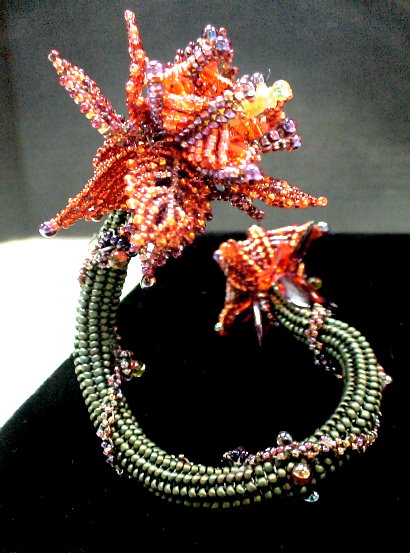
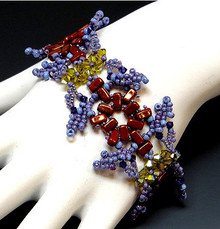
Autumn's End Bracelet
Designer: Kathleen Lynam
BW3-PC-01
ADVANCED LEVEL
-- Bead Weaving Sequence
-- Lesson: Petersburg Chain, Ndbele, 3-Dimensional Flower
-- Bracelet
The last flower of the season! The blooms will explode as they burst open with Ndebele, Petersburg, peyote and brick stitches.
NOTE: Regular retail and wholesale store discounts do not apply to kits.
The AUTUMN'S END BRACELET KIT
Instructions to make a 7" bracelet
Supplies to make up to an 8" bracelet
|
PLEASE NOTE: Sometimes, because of erratic supplies of beads and othermaterials,
we will need to substitute something of similar color and quality.
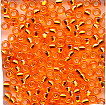
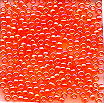
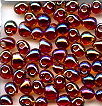
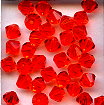
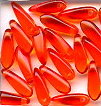
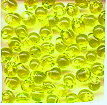
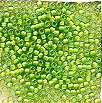
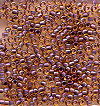
#1 AUTUMN ORANGE PALETTE
|
Colors may appear differently on different monitors.
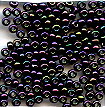
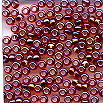
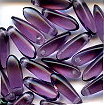
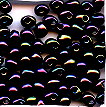
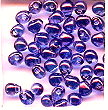
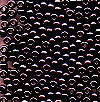
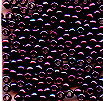
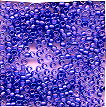
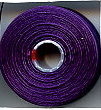
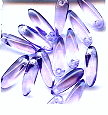
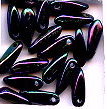
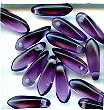
#2. VARIEGATED PURPLE PALETTE
|
Colors may appear differently on different monitors.
FORMAT OPTONS
(1) Instructions Digital Download
About the Project...
I had created a much simpler version of this piece, which I use when I teach the beginning Ndebele Stitch. I was wondering what I could create, if I pushed the envelop a bit with the general technique, even adding additional techniques, like the Russian Petersburg Chain Leaf and a Brick-Stitch Leaf.
This Autumn's End Bracelet is made up of a series of components. Each component is made using different bead weaving stitches.
Tubular Base
An Ndebele tube stitched with size 11/0 seed beads.
Large Flower
This flower consists, first, of a webbing structured with 8 spokes, formed by increases within an Ndebele stitch. This webbing is shaped a bit. Next, we surround this shaped webbing with 8 leaves made with the St. Petersburg stitch. Under these leaves are 4 brick-stitched sepal leaves. Through the center of the flower is a tubular Ndebele stitched stamen. The large flower is attached to one end of our Tubular Base.
Small Flower
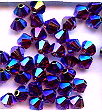
This flower begins with a shaped, Ndebele-stitched webbing, similar to but smaller than the large flower. A tubular peyote bezel holds an Austrian crystal rhinestone in place within its center. Rather than leaves and sepal leaves, this flower's base is embellished with 3x11mm and 5x16mm daggers. The small flower is attached to the other end of our tubular base, after we have insderted the armature.
Armature
A lead-free piece of plumber's solder is inserted and secured within our Tubular Base.
Vine
The outside of our tubular base is embellished with a right angle weave vine. To our strip of right angle weave, we add some decorated daisy flowers. We attach the vine to spiral around our tube.
In the Autumn's End Braceletproject...
LearnToBead Goals:
- Combining bead weaving stitches to give your beadwork dimensionality and a sculptural profile
- Experimenting with color and color blending to achieve abstract or natural looking results
- Discussion about using armatures in beadwork
- Using plumbers' solder as an armature, flexible enough to allow bending and re-bending
TABLE OF CONTENTS
SUPPLIES LIST
I. Planning Your Project
Coordinating and Combining Multiple Techniques
Use of Armatures In Beadwork
IA. Conceptualizing Your Piece
IB. Measurements
IC. Selecting Materials
ID. Sketching a Pattern or Graph
IE. Identifying Potential Areas of Weakness within Your Piece
IF. Visualizing Your Process
IG. Organizing Your Work Space
II. Beginning Your Project
IIA. Basic Steps
A1. The Base: Ndebele Rope
A2. The Large Flower: Center Web
A3. The Large Flower: Stamen
A4. The Large Flower: Shaping Our Center Web
A5. The Large Flower: Inner Leaf
A6. The Large Flower: Sepal Leaf
A7. Inserting the Armature
A8. The Small Flower: Center Web
A9. The Small Flower: Bezeled Rhinestone
A10. The Small Flower: Shaping Our Center Web
A11. The Small Flower: Embellishing With Daggers
A12. Adding The Vine Embellishment Along Ndebele Rope
IIB. Dealing with Contingencies
IIC. Finishing Touches
III. Summary of Learning Objectives You Have Met
After Accomplishing This Project
IV. Next Steps
IVA. Suggested Readings
| LEARNING OBJECTIVES | BEAD WEAVING | ||
|
| BEGINNER | INTERMEDIATE | ADVANCED |
| TECHNICAL MECHANICS | |||
| 1. Managing Thread Tension | INTERMEDIATE |
| |
| 2. Holding Your Piece To Work It |
| INTERMEDIATE |
|
| 3. Reading Simple Pattern, Figure and/or Graph |
| ADVANCED | |
| 4. Selecting Materials |
| INTERMEDIATE |
|
| 5. Identifying Areas of Potential Weakness, and | INTERMEDIATE |
| |
| 6. Determining Measurements, including Width and Length of a Piece, Especially In Relationship To Bead Sizes | INTERMEDIATE |
| |
| 7. Finishing Off Threads in Piece or Extending by Adding Threads |
|
|
|
|
| |||
|
| |||
| UNDERSTANDING CRAFT BASIS OF STITCH | |||
| 1. Starting the Stitch | INTERMEDIATE | ||
| 2. Implementing the Basic Stitch |
| INTERMEDIATE |
|
| 3. Finishing Off Your Piece With A Clasp Assembly |
|
| |
| 4. Creating Simple Surface Embellishment |
| INTERMEDIATE |
|
| 5. Creating a Simple Edging or Fringe |
|
|
|
| 6. Working Stitch in Flat Form |
|
| |
| 7. Increasing and Decreasing | INTERMEDIATE |
| |
| 8. Working Stitch in Tubular Form | BEGINNER |
|
|
| 9. Working Stitch To Create Open (Negative Spaces), and Split Forms |
| INTERMEDIATE |
|
| 10. Elaborately Embellishing the Stitch, including Fringes, Edge Treatments, Bails, Straps and Connectors | BEGINNER |
|
|
| 11. Working Stitch in Circular Form | BEGINNER |
|
|
| 12. Working Stitch in Spiral Form |
|
|
|
| 13. Working Stitch in Diagonal Form |
|
|
|
| 14. Working Stitch in 3-Dimensions (sculptural) | BEGINNER |
|
|
|
| |||
|
| |||
| UNDERSTANDING ART & DESIGN BASIS OF STITCH | |||
| 1. Learning Implications When Choosing Different Sizes/Shapes of Beads, or Using Different Stringing Materials |
| INTERMEDIATE |
|
| 2. Understanding Relationship of this Stitch in Comparison to Other Types of Bead Weaving Stitches |
| ADVANCED | |
| 3. Understanding How Bead Asserts Its Need For Color, Using This Stitch |
| INTERMEDIATE |
|
| 4. Creating Your Own Design with This Stitch, in Reference to Design Elements and Jewelry Design Principles of Composition |
|
|
|
| 5. Creating Shapes, Components a
| |||
 Loading... Please wait...