Loading... Please wait...
 Categories
Categories
- Home
- KITS
- BEAD WEAVING
- CATERPILLAR ESPIRITU INSTRUCTIONS DOWNLOAD (1 unit)
CATERPILLAR ESPIRITU INSTRUCTIONS DOWNLOAD (1 unit)

, $9.99 (https://landofodds.com/caterpillar-espiritu-instructions-download-1-unit/))

Product Description
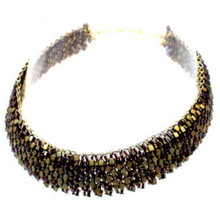
Caterpillar Espiritu Bracelet
Designer: Warren Feld
BW1-SOM-08-Fringe
BEGINNER LEVEL
-- Bead Weaving Sequence
-- Lesson: Fringe
-- Bracelet
Capture an aspiring, spiritual essence! Learn to create an expressive fringe bracelet using a very large palette of colors and shapes.
NOTE: Regular retail and wholesale store discounts do not apply to kits.
The CATERPILLAR ESPIRITU BRACELET KIT
Instructions to make a 7" bracelet
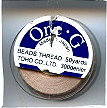
Supplies to make up to an 8 1/2" bracelet
|
PLEASE NOTE: Sometimes, because of erratic supplies of beads and othermaterials,
we will need to substitute something of similar color and quality.
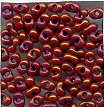
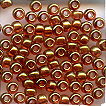
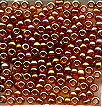
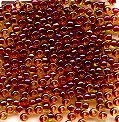
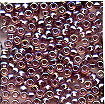
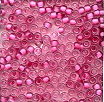
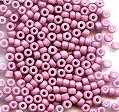
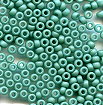
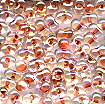
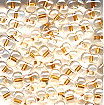
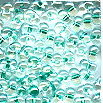
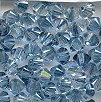
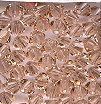
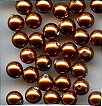
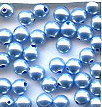
#1 VENUS PALETTE
|


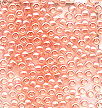
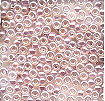
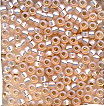
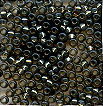
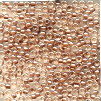
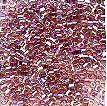
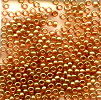

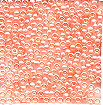
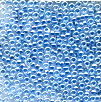

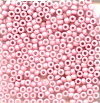
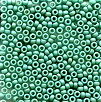
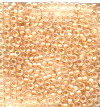


Colors may appear differently on different monitors.
FORMAT OPTONS
(1) Instructions Digital Download
ABOUT THE KIT.
In this project, we use a Simple or Straight Fringing technique. But there are many types of fringing techniques, and you can also create your own fringing strategies.
Perhaps one of the most widely used types of fringe is adding a Picot Edge. Here you would add some beads (typically, but not necessarily, 3 beads) between each bead on your edging, or add 3 beads at the end of a line of beads. NOTE: In our project, we add what is called a “stop bead” to each fringe, and this is the same as adding a “1-bead picot”.
Other types of fringe include Netting, Branching, Looping, Creating Leaves or Petals, Twisting or Spiraling, or Kinky.
Fringes can be the same length, or different lengths, or graduated lengths. They can be composed of the same beads, or different beads.
How you do your fringe will depend on the piece to which are you attaching it.
There may be odds/evens issues with your fringe, such as when graduating your fringe so that there is a clear middle-point. You may have to coordinate the numbers of your fringes with the numbers of rows in your piece.
The technique is easy to do, and offers many possibilities, only limited by your imagination.
Fringe projects are good projects for using up your bead stash.
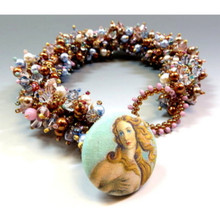
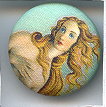
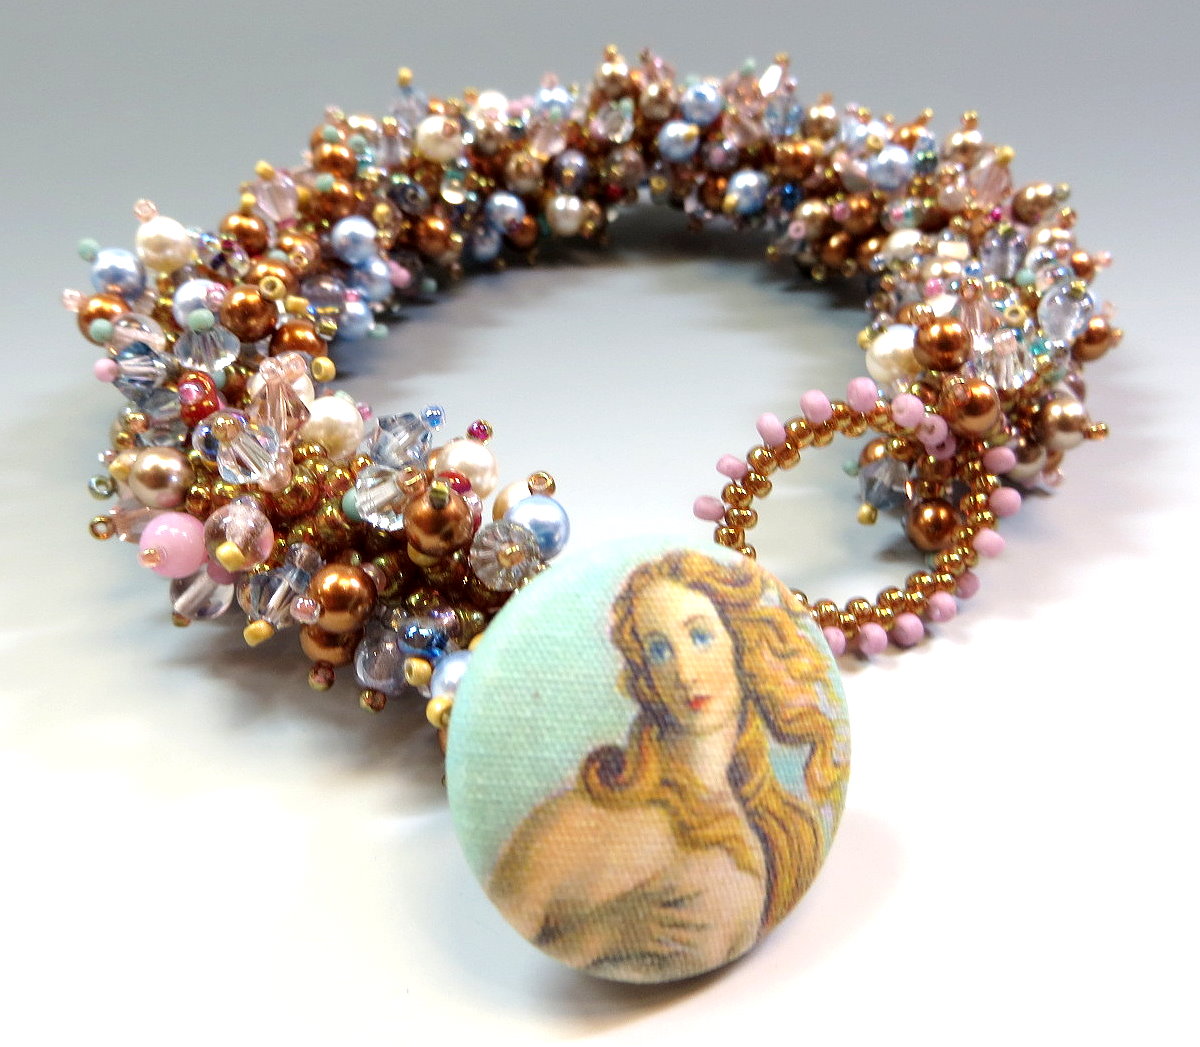
In the Caterpillar Espiritu Bracelet, the fringe pattern and colors are supposed to capture the essence of the image on the button – the focal point of the bracelet -- , without overwhelming that image.
There is an unfortunately tendency of many bead artists to overdo their fringe and thus, over-embellish their pieces.
This bracelet involves creating a line of beads, called a “Train”, and then adding fringe between each of the beads in this Train.
The button is the focal point, so its choice is critical. Begin by choosing your button, and then find colors that coordinate well with the button.
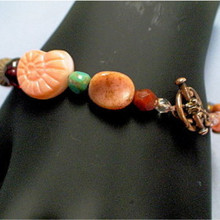
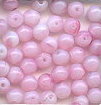
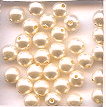
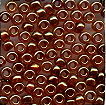
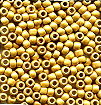
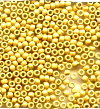
I wanted to use a mix of sizes and shapes of glass beads, including sizes 8/0, 11/0 and 15/0 seed beads, berry beads, peanut beads, and 4mm round crystal pearls and druks, as well as 4mm crystal bicone beads.
I decided to use over 40 colors/shapes/sizes of beads to create a high level of interest and wonder. It’s very exciting for a viewer to interact with so many well-coordinated colors – and much unexpected. I wanted to pick up on the stronger colors in the button, but not in a “strong” way – “subtlety” was my mantra. The stronger colors in the button needed to be present and repeated and well-distributed throughout the entire bracelet. – but not necessarily call your attention to them. I didn’t want any of the 4mm size beads to be in one of the stronger colors – the 4mm area of these beads would take up too much area and volume, and if in a stronger color, would divert the viewer’s attention away from the button.
In the Caterpillar Espiritu Bracelet project...
LearnToBead Goals:
What You Will Learn:
- Basic Fringing Technique for embellishment
- Managing Thread Tension
- Reading simple diagrams
- Attaching a button clasp
- Embellishing a button loop
- Working with a very large palette of colors, shapes and sizes
TABLE OF CONTENTS
SUPPLIES LIST
I. Planning Your Project
ABOUT FRINGE
IA. Conceptualizing Your Piece
WORKING WITH A LARGE COLOR PALETTE
IB. Measurements
IC. Selecting Materials
ID. Sketching a Pattern or Graph
IE. Identifying Potential Areas of Weakness within Your Piece
IF. Managing Support Systems
IG. Visualizing Your Process
IH. Organizing Your Work Space
II. Beginning Your Project
IIA. Basic Steps
1) Attach Button To Workable Length of Thread
2) String on your “Train” of core beads
3) Make Your Loop For Button Closure
-Making a Turn-Around
4) Adding Fringe: First Pass
-About Adding Thread
5) Adding Fringe: Second Pass
6) Adding Fringe: Third Pass
7) Finishing Off
IIB. Dealing with Contingencies
IIC. Finishing Touches
III. Summary of Learning Objectives You Have Met,
After Accomplishing This Project
IV. Next Steps
IVA. Suggested Readings
This CATERPILLAR ESPIRITU BRACELET teaches a basic fringing technique.
The primary "design-skill" goal is to learn to work with and manage a very large palette of colors.
| LEARNING OBJECTIVES | BEAD WEAVING | ||
|
| BEGINNER | INTERMEDIATE | ADVANCED |
| TECHNICAL MECHANICS | |||
| 1. Managing Thread Tension | BEGINNER |
| |
| 2. Holding Your Piece To Work It | BEGINNER |
| |
| 3. Reading Simple Pattern, Figure and/or Graph | BEGINNER |
| |
| 4. Selecting Materials | BEGINNER |
| |
| 5. Identifying Areas of Potential Weakness, and | BEGINNER |
| |
| 6. Determining Measurements, including Width and Length of a Piece, Especially In Relationship To Bead Sizes | BEGINNER |
| |
| 7. Finishing Off Threads in Piece or Extending by Adding Threads | BEGINNER |
|
|
|
| |||
|
| |||
| UNDERSTANDING CRAFT BASIS OF STITCH | |||
| 1. Starting the Stitch | BEGINNER |
| |
| 2. Implementing the Basic Stitch | BEGINNER |
|
|
| 3. Finishing Off Your Piece With A Clasp Assembly | BEGINNER |
|
|
| 4. Creating Simple Surface Embellishment |
|
|
|
| 5. Creating a Simple Edging or Fringe | BEGINNER |
|
|
| 6. Working Stitch in Flat Form | BEGINNER |
|
|
| 7. Increasing and Decreasing |
|
| |
| 8. Working Stitch in Tubular Form |
|
| |
| 9. Working Stitch To Create Open (Negative Spaces), and Split Forms |
|
| |
| 10. Elaborately Embellishing the Stitch, including Fringes, Edge Treatments, Bails, Straps and Connectors |
|
| |
| 11. Working Stitch in Circular Form |
|
| |
| 12. Working Stitch in Spiral Form |
|
|
|
| 13. Working Stitch in Diagonal Form |
|
|
|
| 14. Working Stitch in 3-Dimensions (sculptural) |
|
| |
|
| |||
|
| |||
| UNDERSTANDING ART & DESIGN BASIS OF STITCH | |||
| 1. Learning Implications When Choosing Different Sizes/Shapes of Beads, or Using Different Stringing Materials |
|
| |
| 2. Understanding Relationship of this Stitch in Comparison to Other Types of Bead Weaving Stitches |
| ||
| 3. Understanding How Bead Asserts Its Need For Color, Using This Stitch | BEGINNER |
|
|
| 4. Creating Your Own Design with This Stitch, in Reference to Design Elements and Jewelry Design Principles of Composition |
|
|
|
| 5. Creating Shapes, Components and Forms with This Stitch, and Establishing Themes |
|
| |
| 6. Building in Structural Supports, and Other Support Elements, into the Design |
|
| |
|
| |||
|
| |||
| --> Product ReviewsFind Similar Products by Category | |||