Categories
Categories
CATENARY ARCHES BRACELET, DOWNLOAD INSTRUCTIONS ONLY, (Download, CLICK Add-To-Cart BUTTON)
Product Description
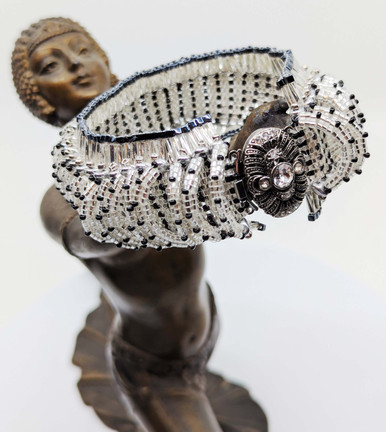
CATENARY ARCHES BRACELET
Designer: Warren Feld
BW3-PEYRAW-01
ADVANCED LEVEL
-- Bead Weaving Sequence
-- Lesson: Peyote, Right Angle Weave, Ladder, Bookbinding, Brick
-- Formats: Kit with Instructions (.pdf file) or Download Instructions Only
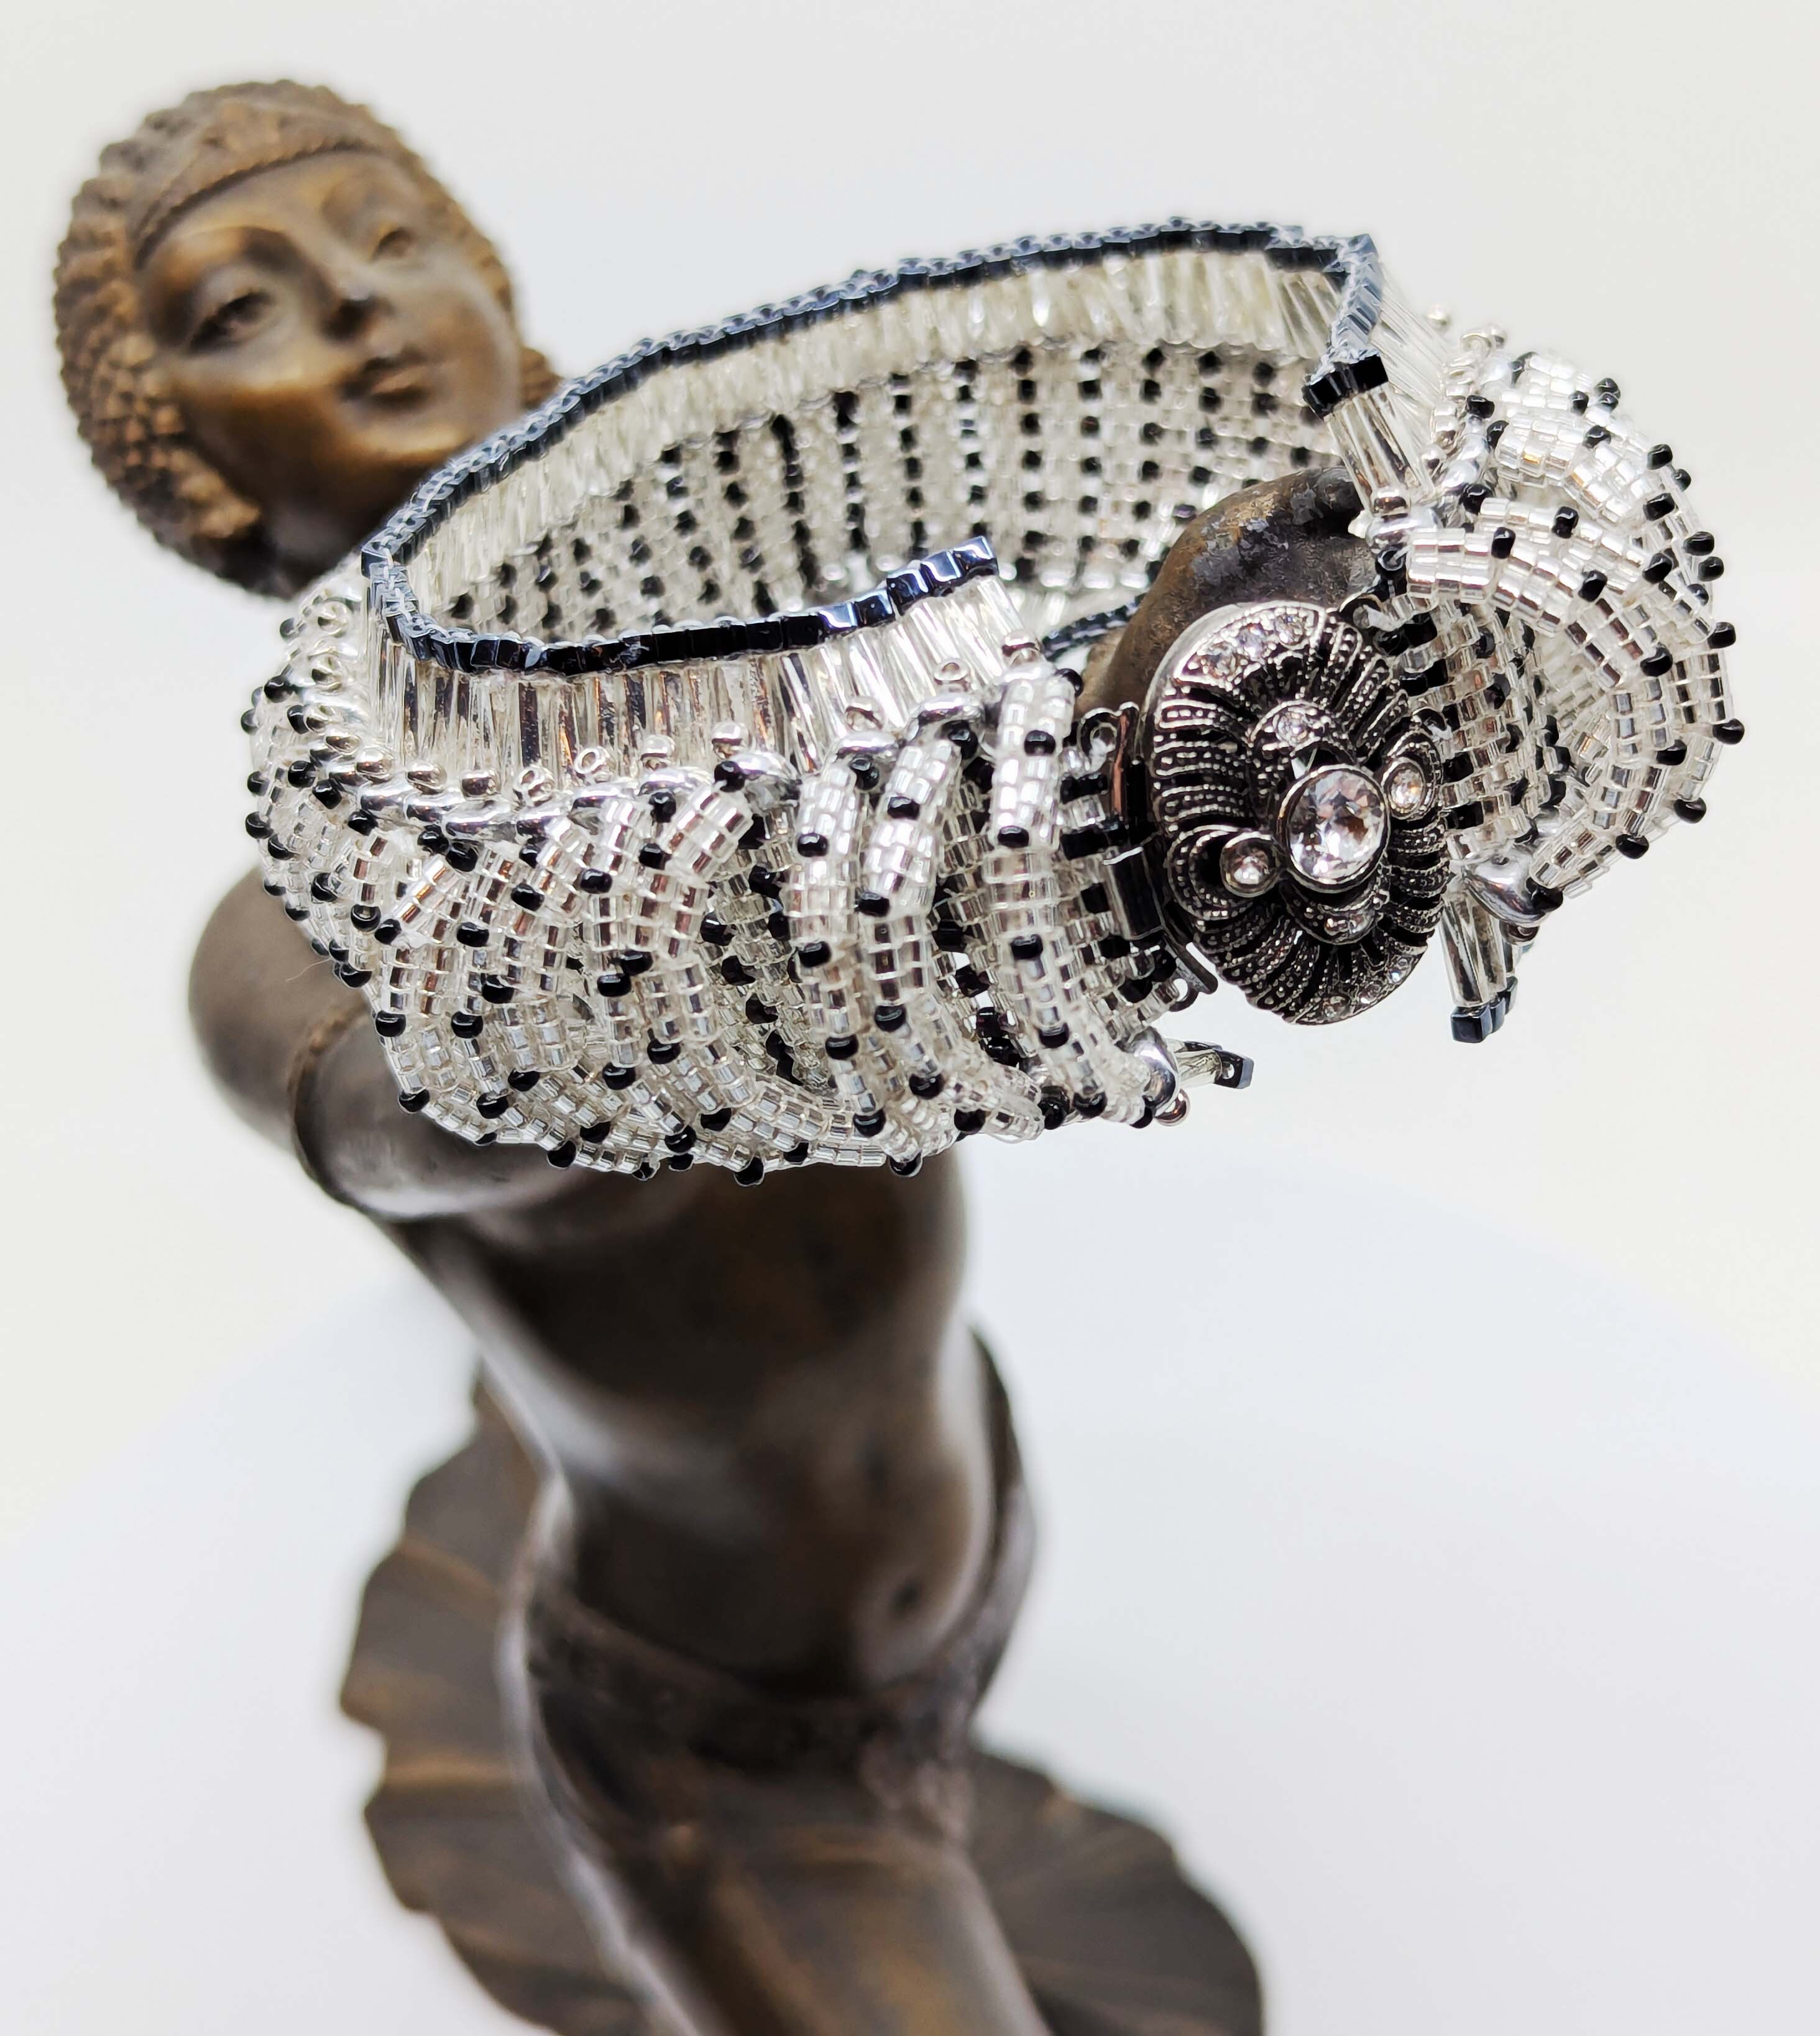
A sparkling bright art deco piece, a river of arches and all, adorns your wrist – you HOT SHOT! with your peyote and ladder and right angle weave and brick stitch and bookbinding stitch magic melding!
CATENARY ARCHES KIT
Instructions to make a 7" Bracelet
Supplies to make up to an 8.5" Bracelet
|
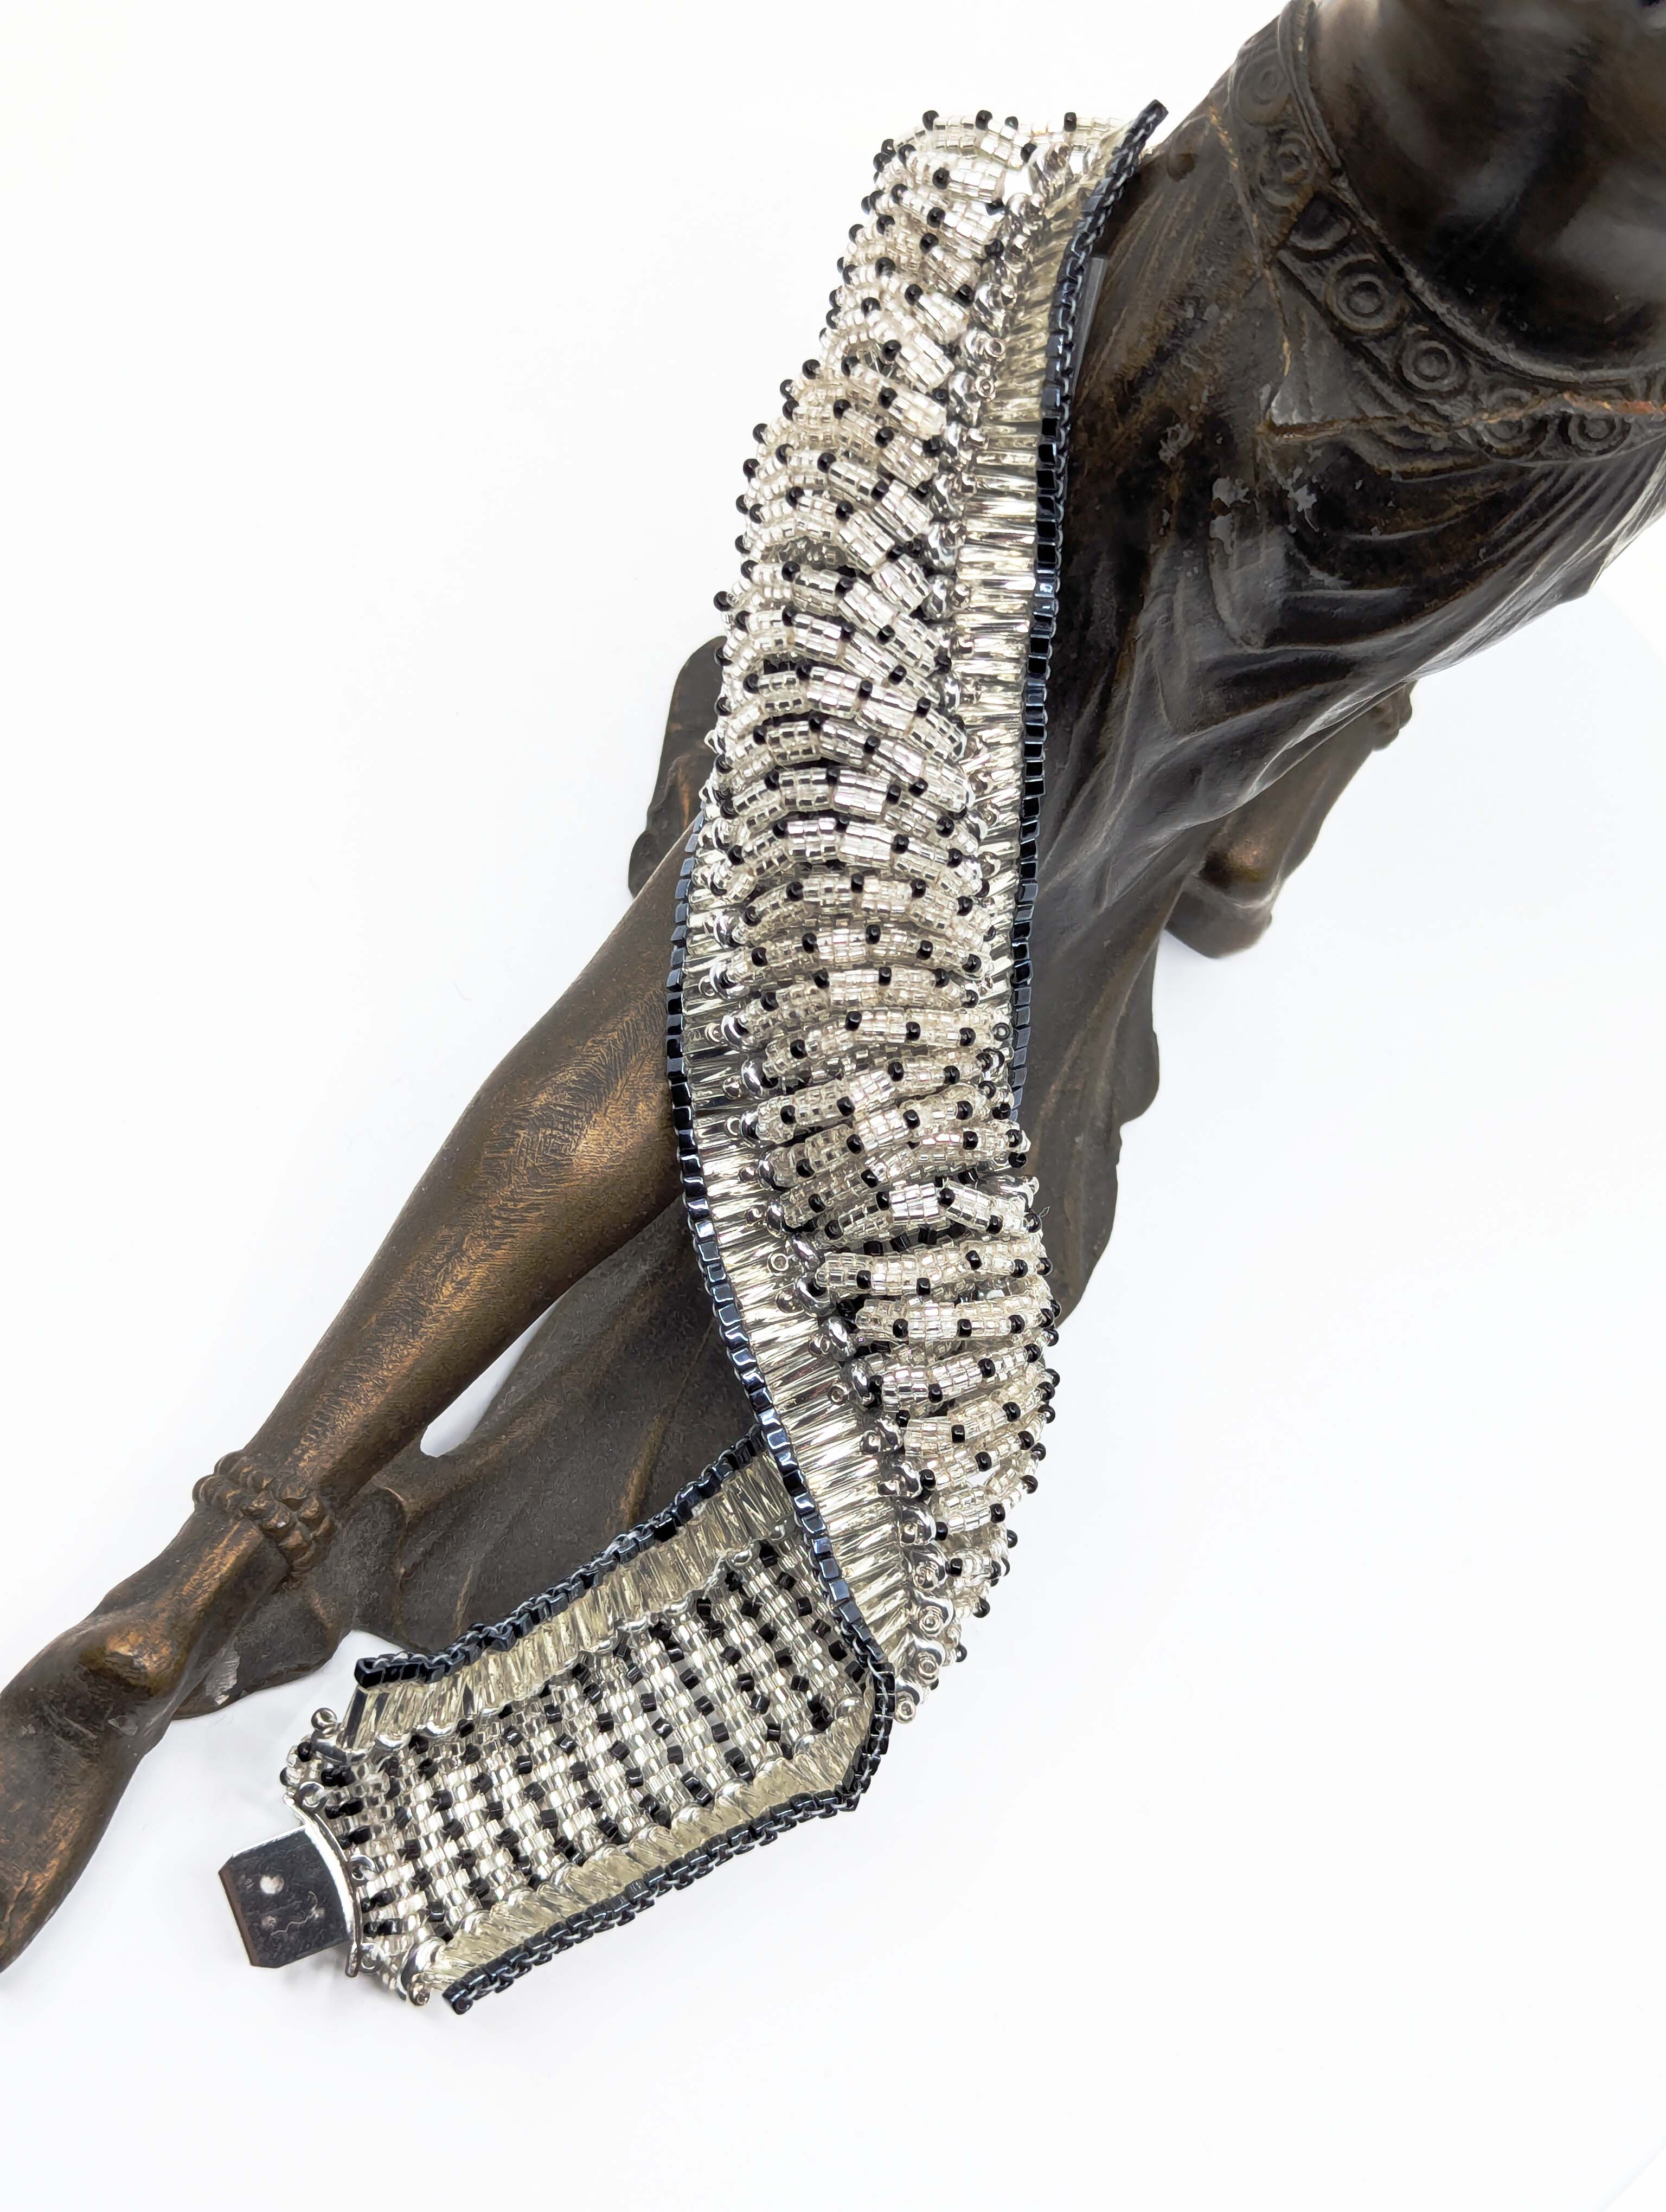
About the Kit...
I have always been fascinated by the architectural works of Antonio Gaudi in Barcelona, Spain. He builds very organic, undulating forms. These fantastical shapes and spires and walls and rooftops are supported internally by a type of arch called a catenary arch. I knew from experience that creating a beadwoven arch was a difficult proposition, most likely to fail when the piece of jewelry was worn.
The typical arch structure would be called a parabolic arch, and this one I knew would not work. In response to weight pressed onto the arch, a parabolic arches channels this stress along its entire length, from base to top to base. The stresses and strains from pushing on parabolic arches, pulling the arches, smashing the arches, would typically end up in a flat and flattened mess.
A catenary arch is a type of architectural arch which follows what is called an inverted catenary curve. A catenary arch, in response to weight pressed on to it, centers its response to force at the top of its arch. It does not distribute this force, as in the parabolic arch. As such, it can handle the stresses and strains pushing on it much better. The catenary arch is less likely to fail because of stress and strain. Architecturally, a catenary arch has the ability to withstand the weight of the material from which it is constructed, without collapsing. This catenary arch can be uniformly dense and thick along its entire length. These are strong because they redirect the vertical force of gravity into compression forces pressing along the arch’s curve.
This catenary arch has been used in building structures since ancient times. It forms the basis of Gothic cathedrals, Renaissance domes, the St. Louis Gateway arch, for examples. Gaudi faced the same issues in creating building structures. His solution was the catenary arch.
My challenge was to see if I could create a beadwoven catenary arch that could hold its shape when the piece was worn.
What You Will Learn:
- Ladder stitch
- Coordinating Peyote and Right Angle Weave stitches to optimize support (movement) and structure (shape)
- Bookbinding stitch to reposition thread when you need to cross over several beads
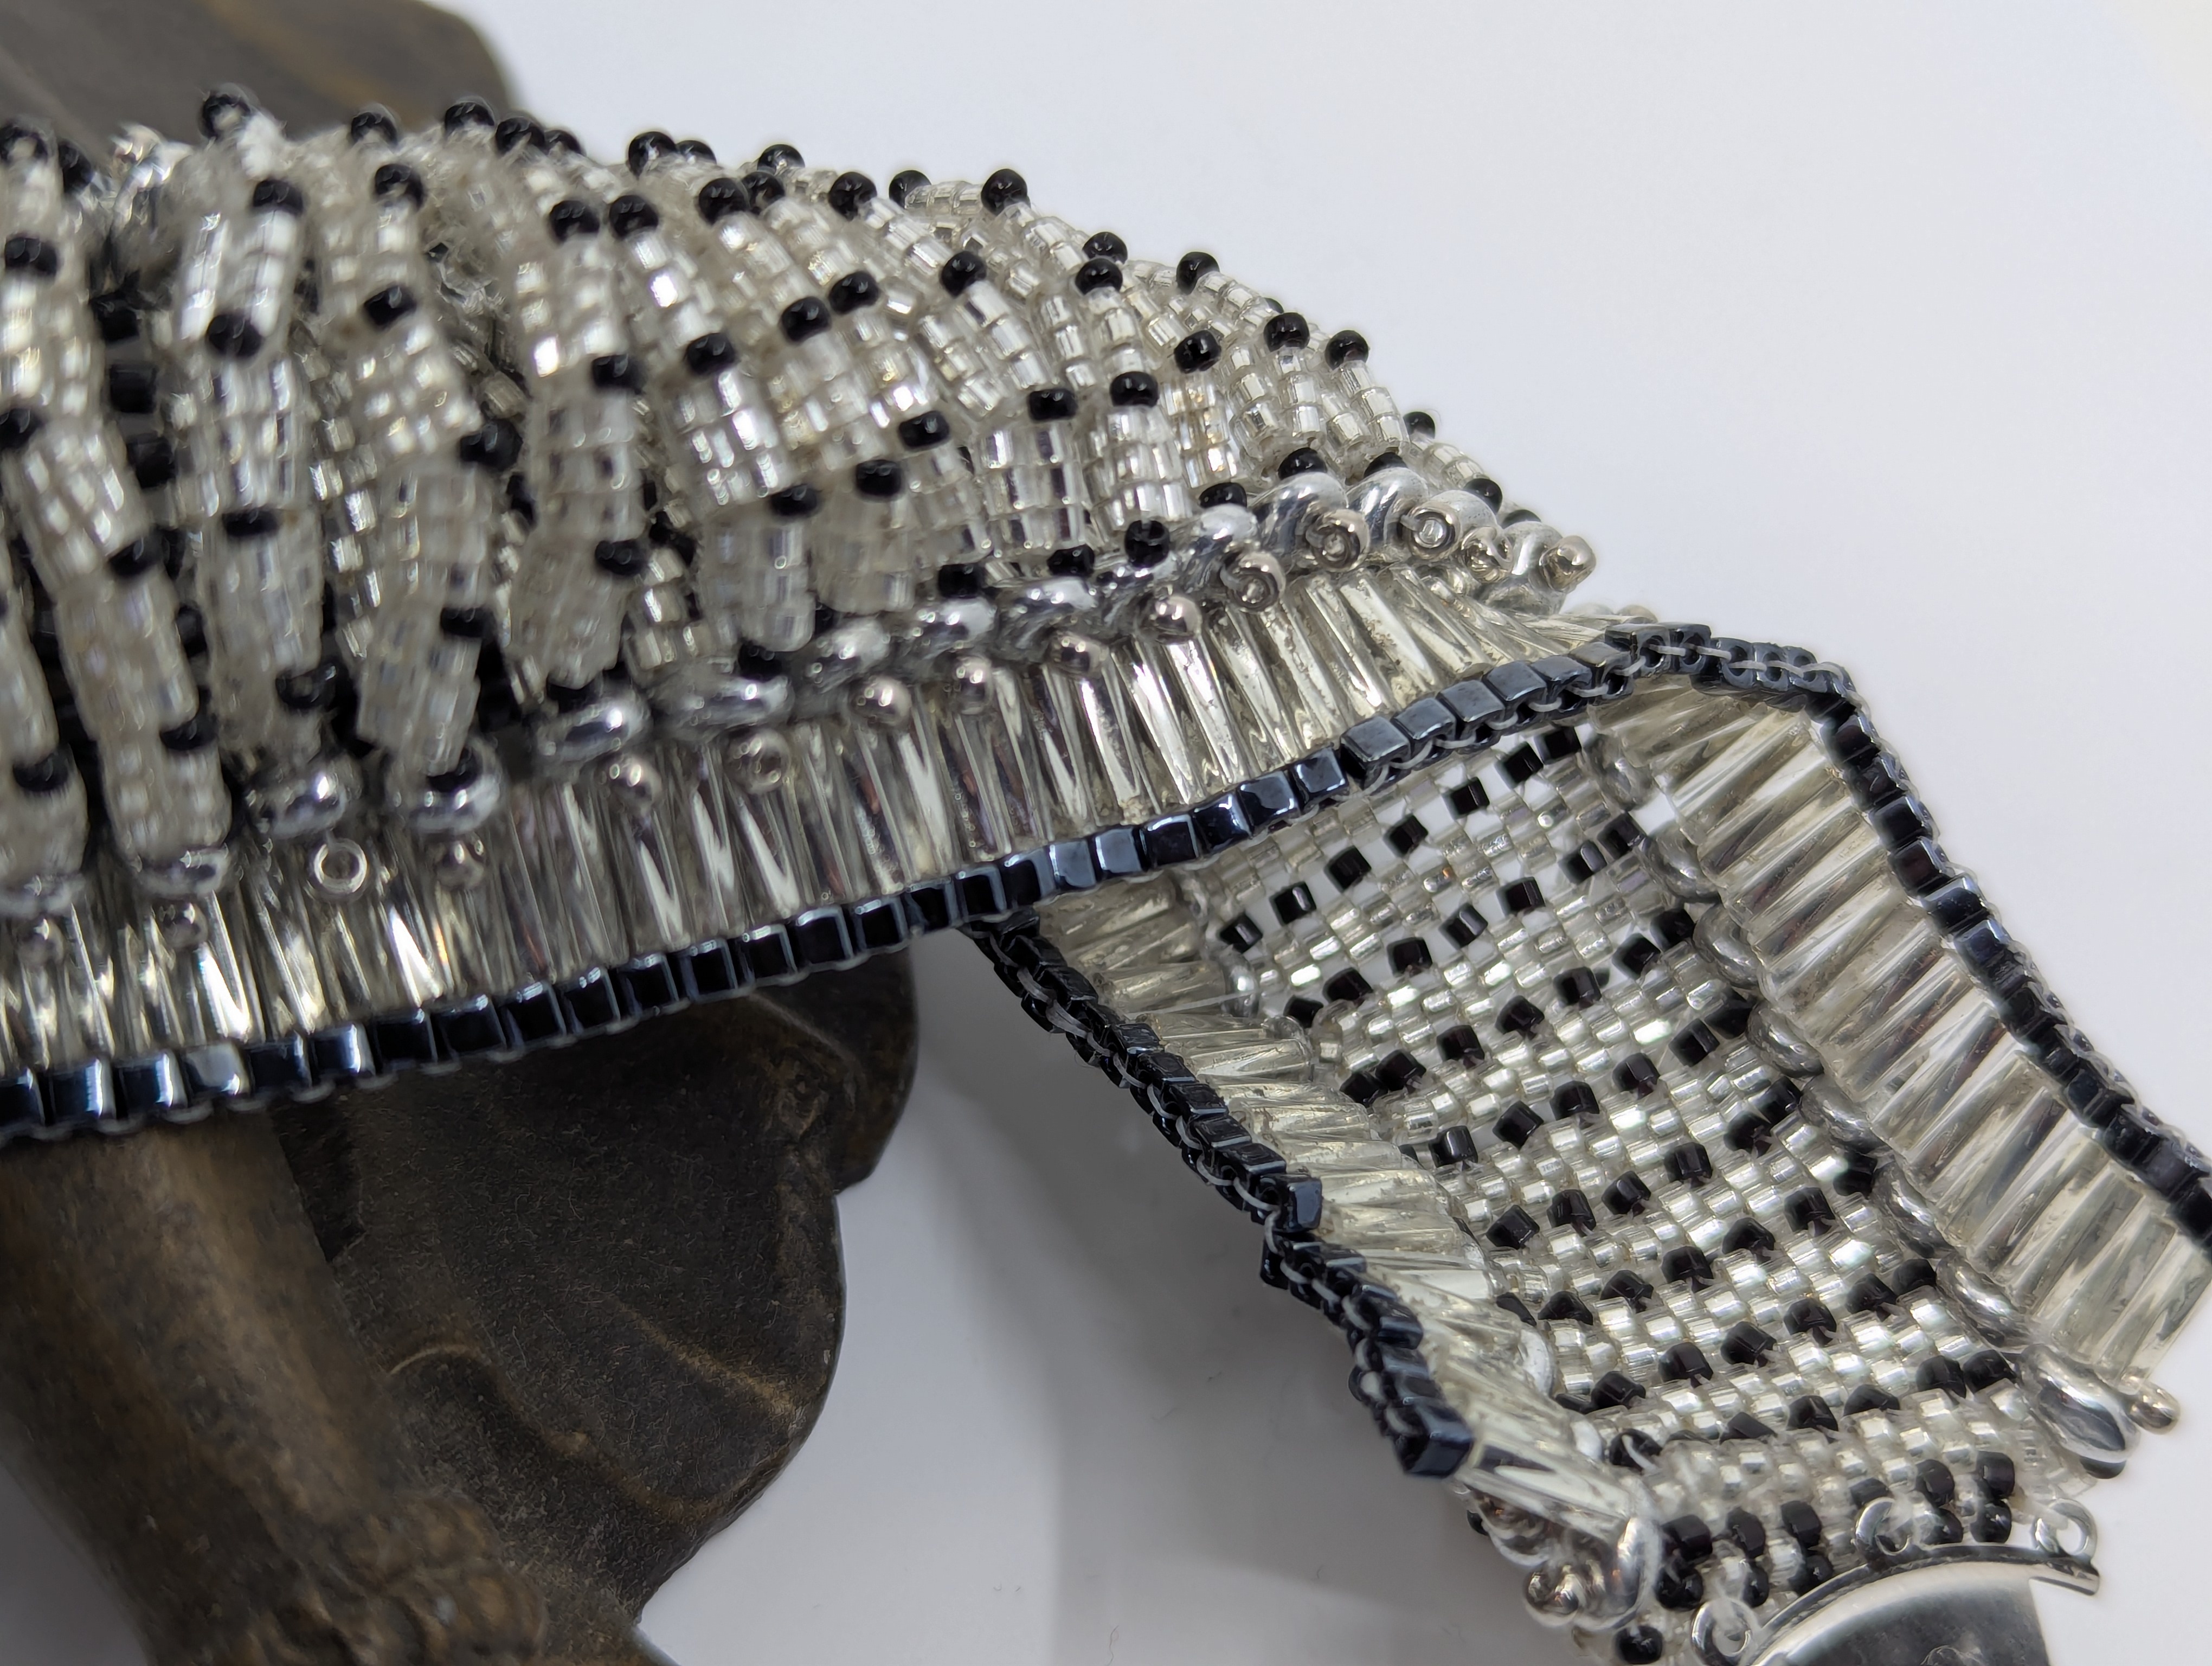
- Creating a catenary arch using bead weaving strategy
- Attaching catenary arch to a foundation base
- Using brick stitch to form an edging
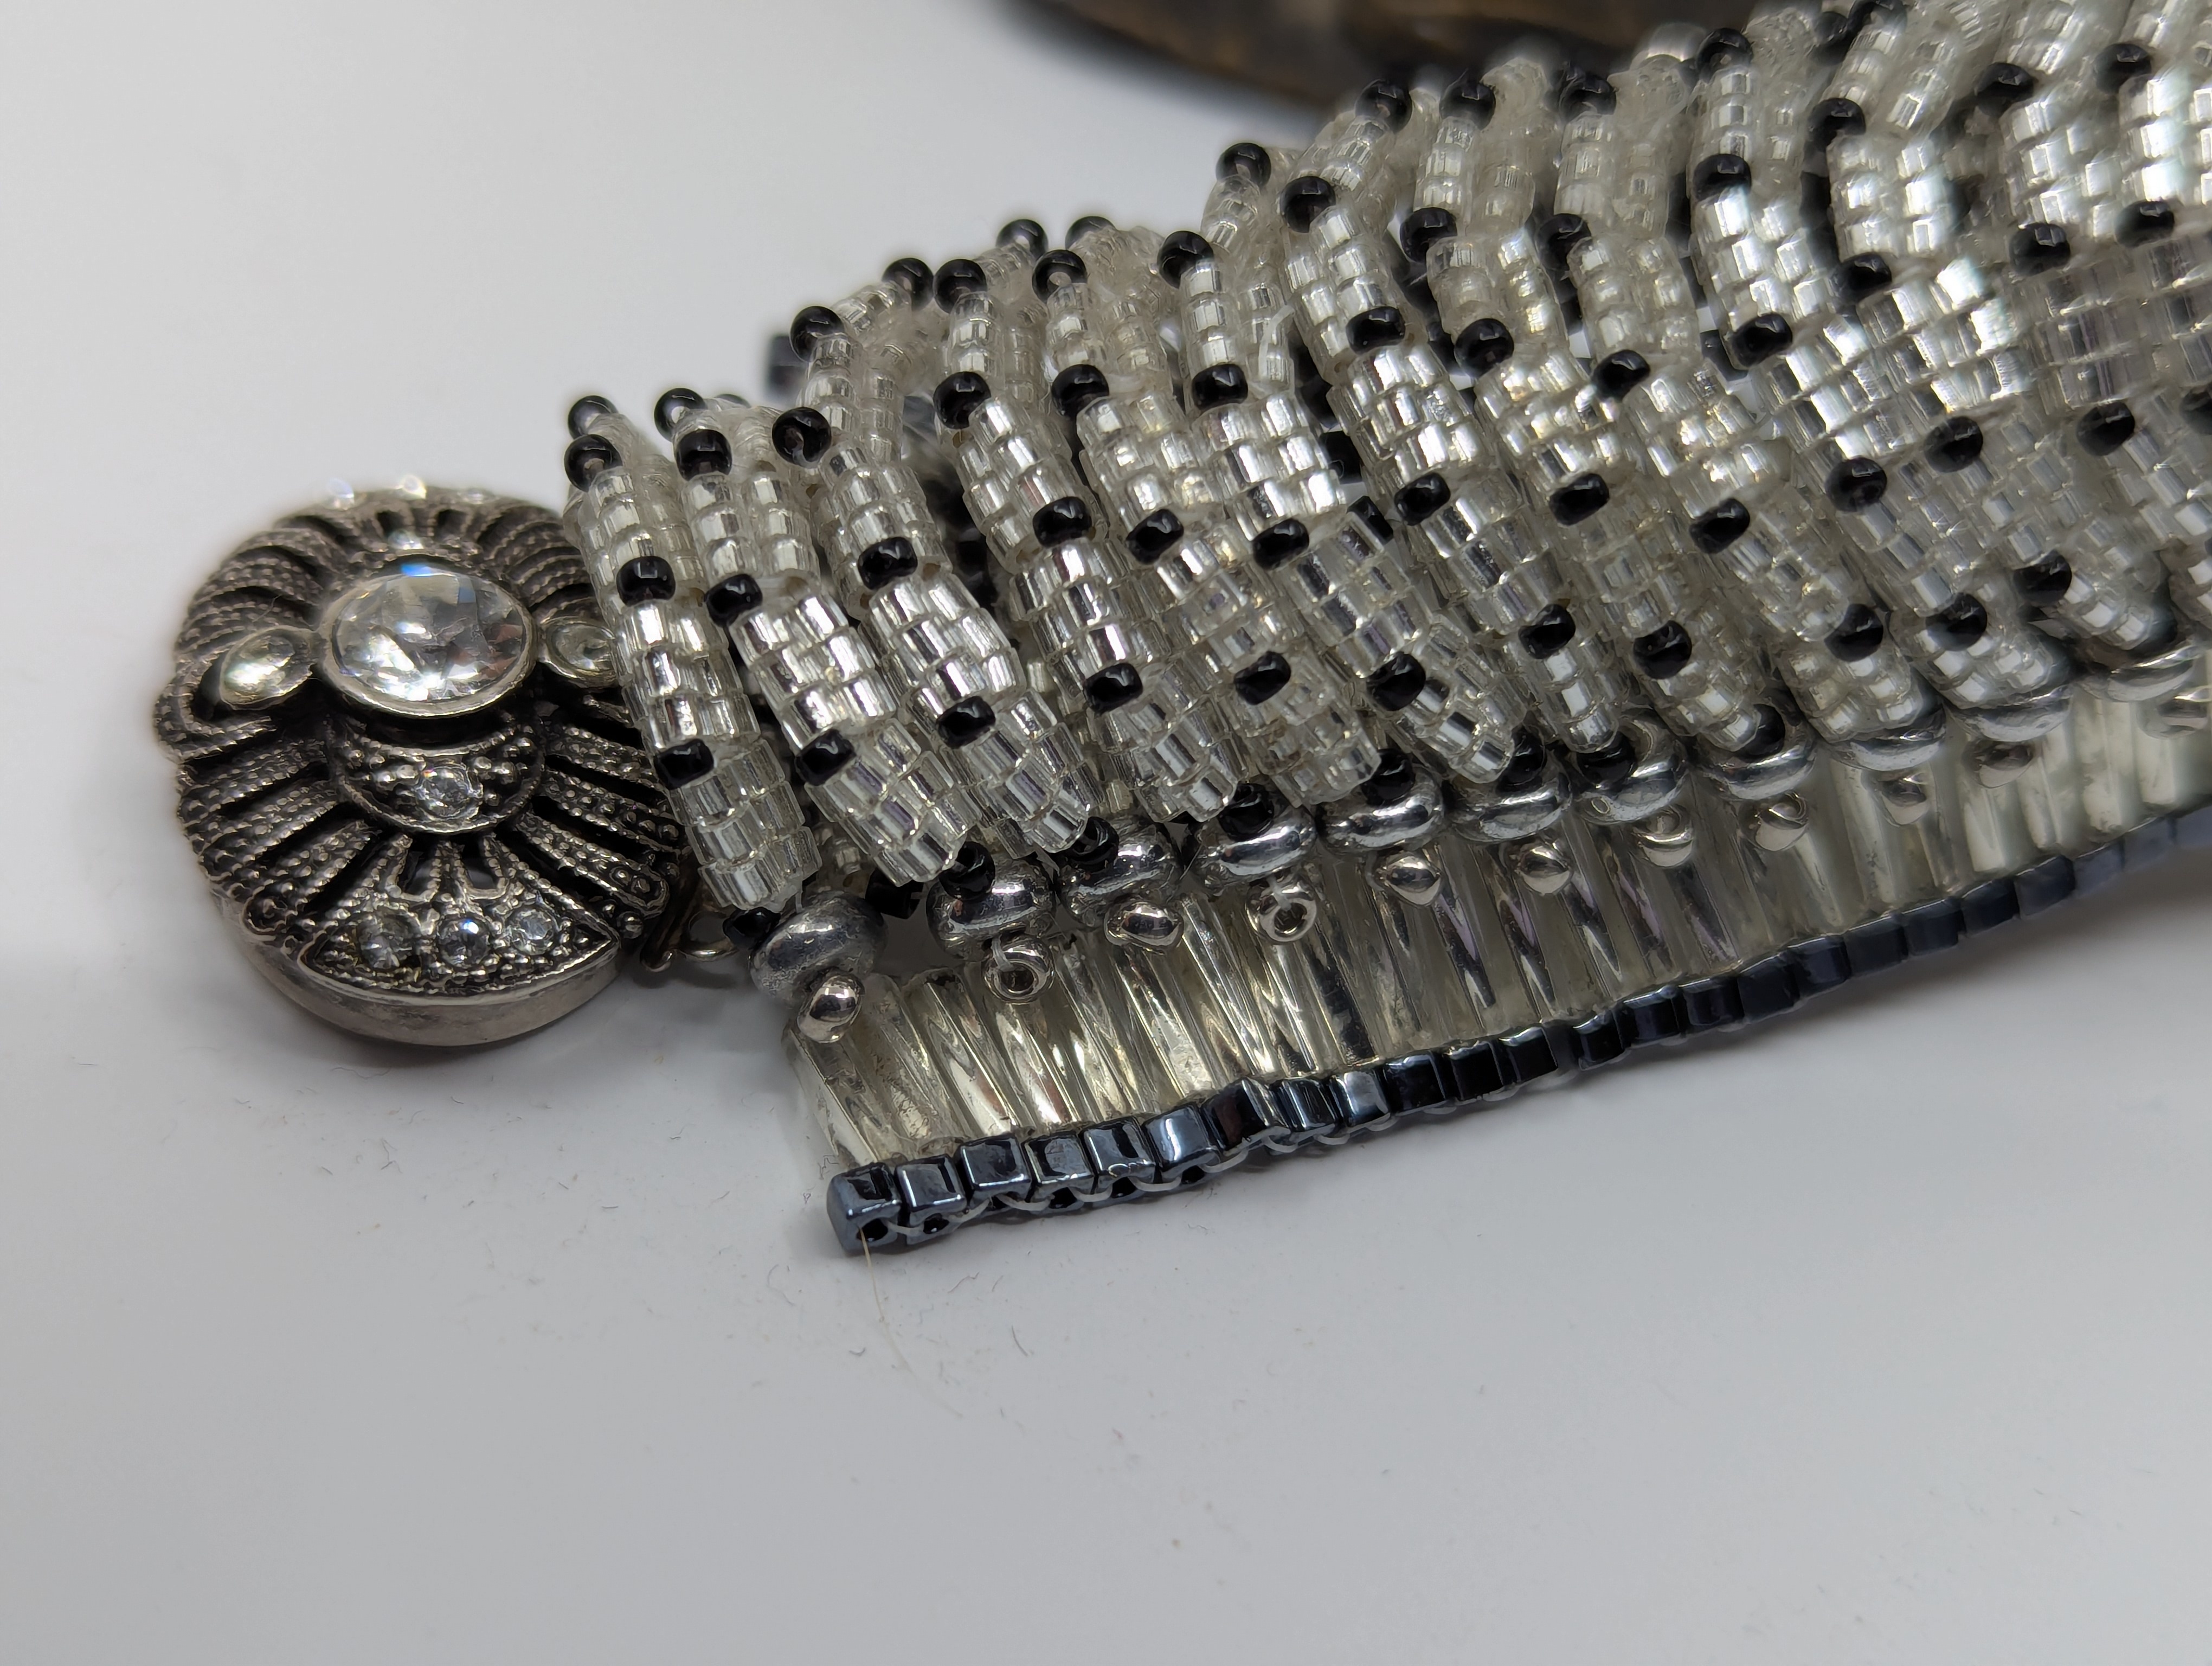
- Attaching a clasp
- Designing and working with a piece that is more 3-dimensional rather than 2-dimensional
Tablet of Contents
SUPPLIES LIST, p. 3
I. Inspiration and Planning Your Project, p. 4
IA. Measurements, p. 6
IB. Selecting Materials, p. 7
IC. Sketching a Pattern or Graph, p. 8
ID. Identifying Potential Areas of Weakness within Your Piece, p. 9
IE. Managing Structure and Support Systems, p. 9
IF. Visualizing Your Process, p. 9
IG. Organizing Your Work Space, p. 10
II. Beginning Your Project: Basic Steps, p. 11
1) Creating BOARDWALK, p. 11
About Ending and Adding Thread, p. 15
2a) Creating PROMENADE Support Connectors, p. 18
2b) Finishing the PROMENADE Foundation, p. 25
3) Creating CATENARY ARCHES, p. 33
4) Attaching CATENARY ARCHES, p.44
5) Brick Stitch EDGING, p. 51
6) Adding RUNWAYS and Attaching CLASP ASSEMBLY, p. 54
7) Contingencies, p. 56
8) Give Your Piece The Once-Over, p. 57
 Loading... Please wait...