Categories
Categories
AZTEC WRAP BRACELET (Kit with Instructions on CD)
Product Description
Kits Showcase - Land of Odds - Be Dazzled Beads
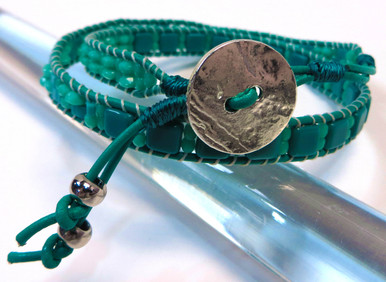
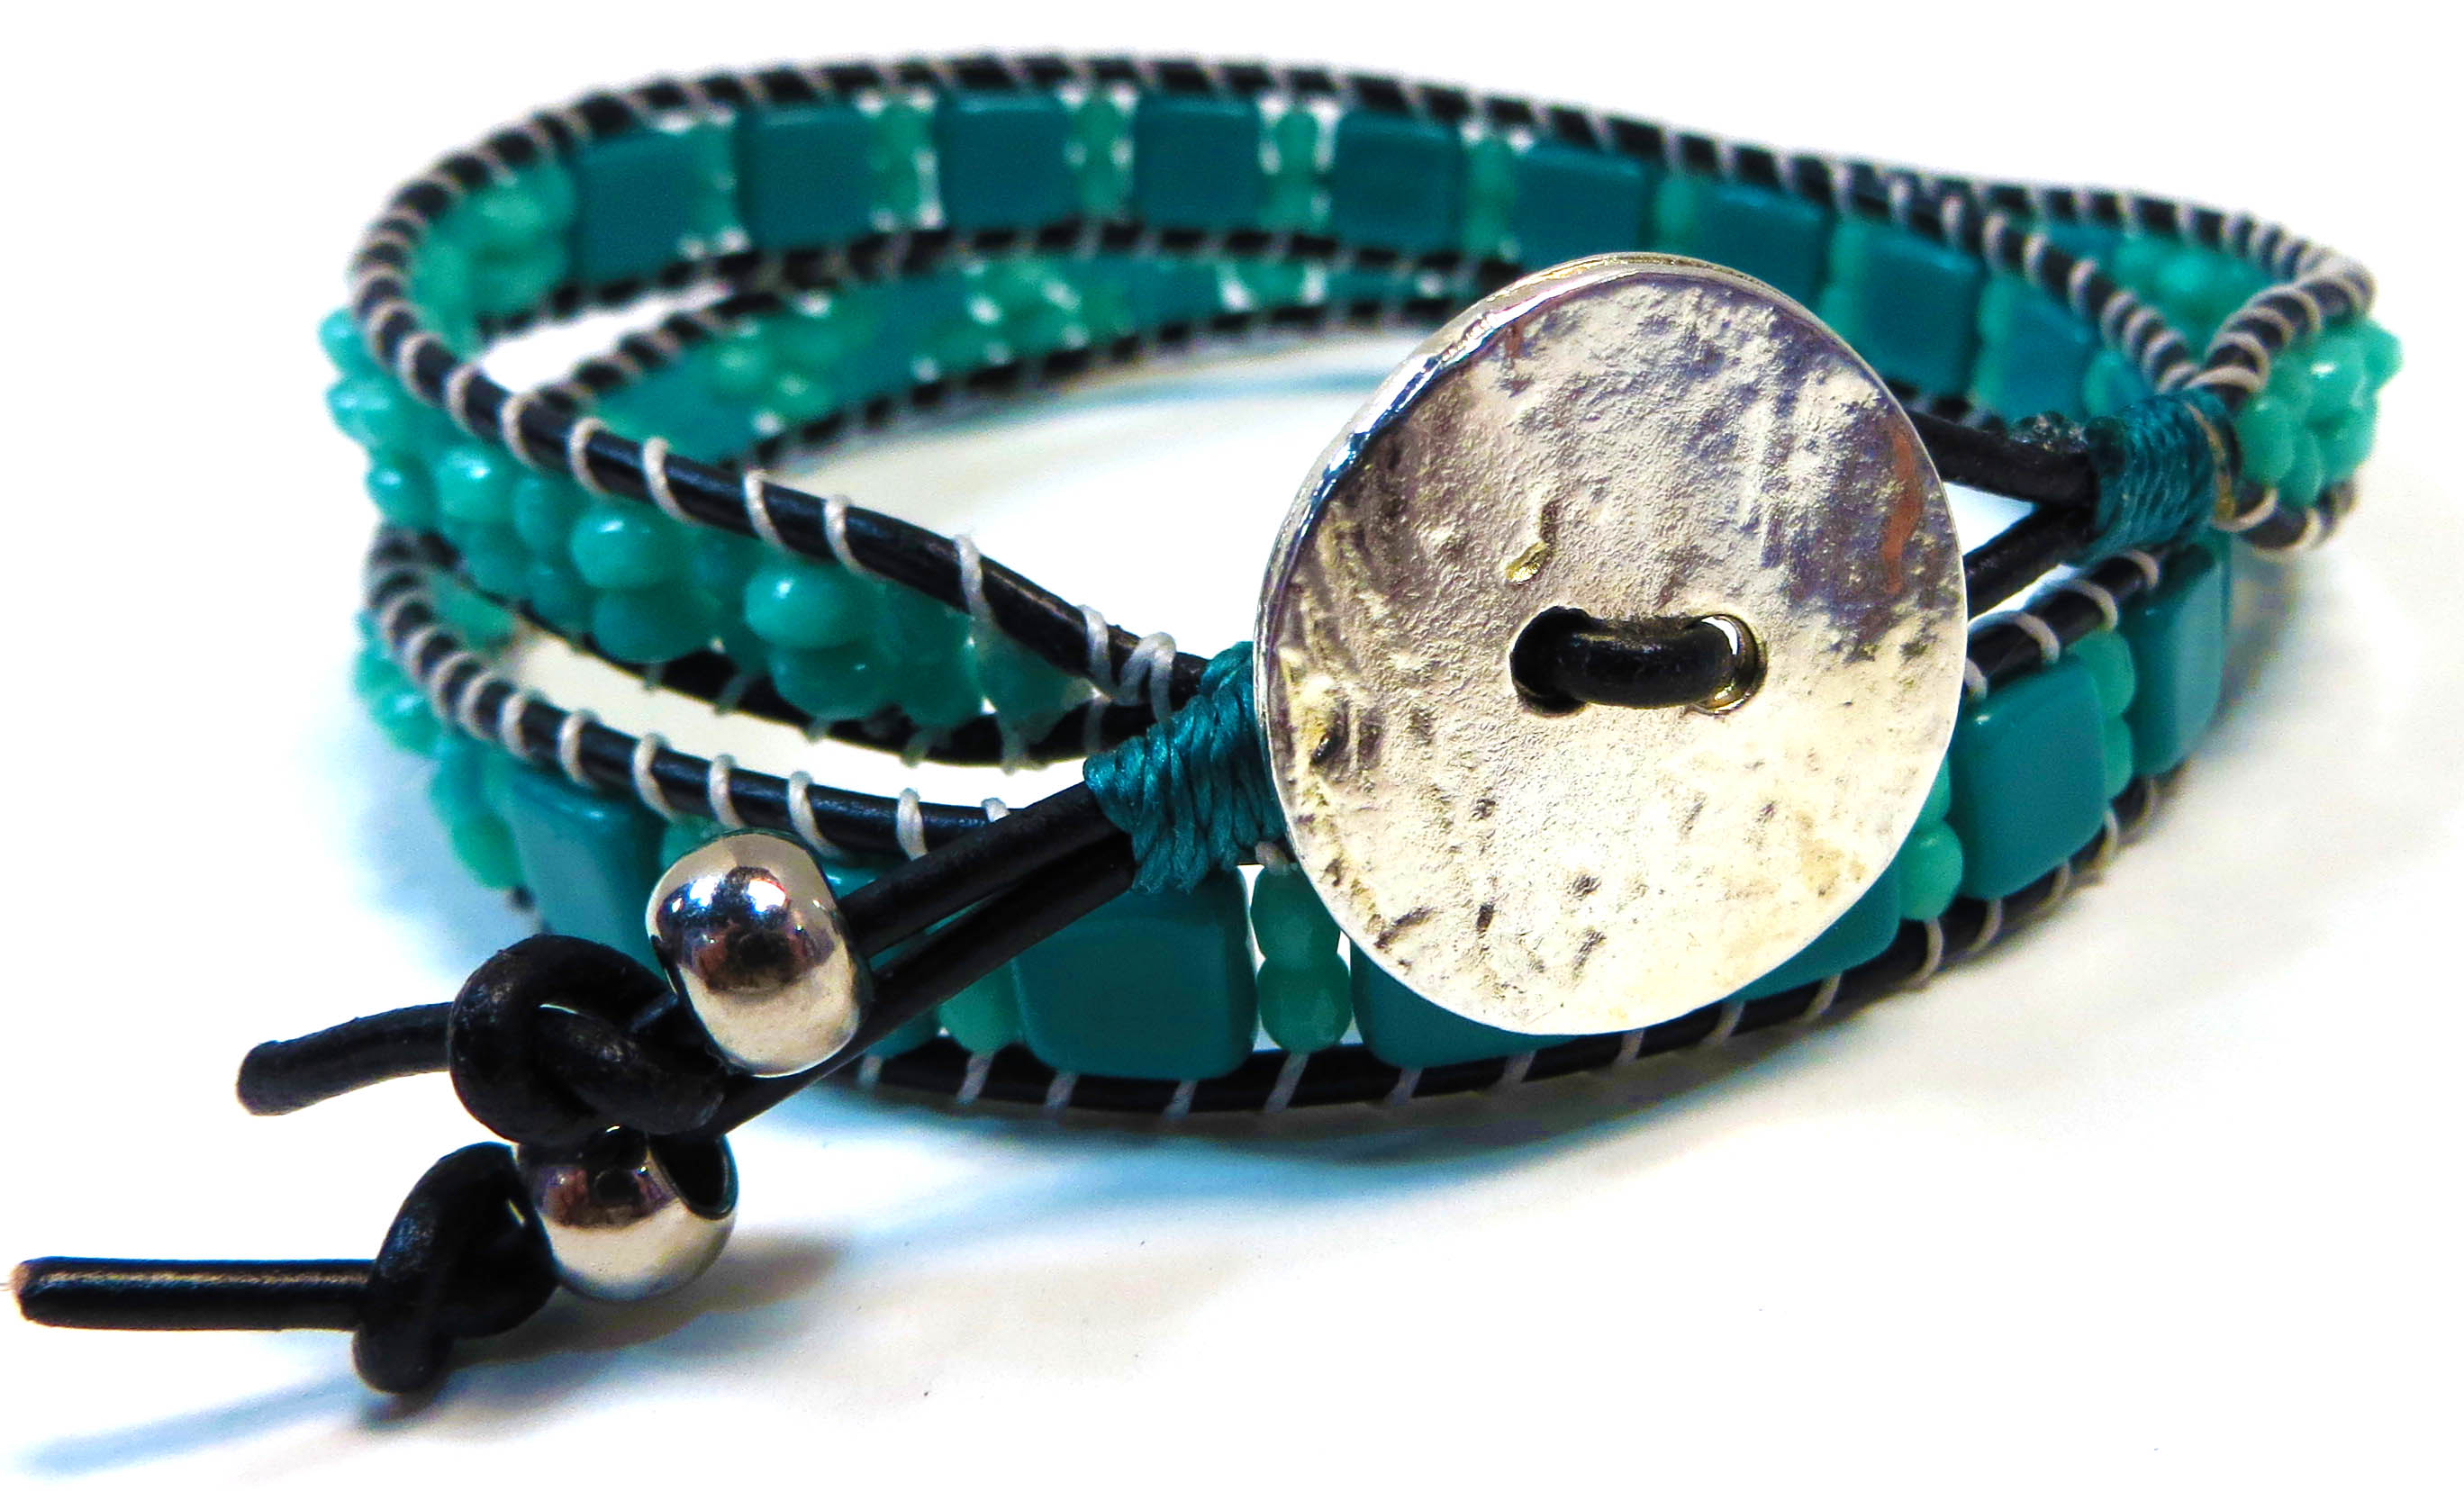
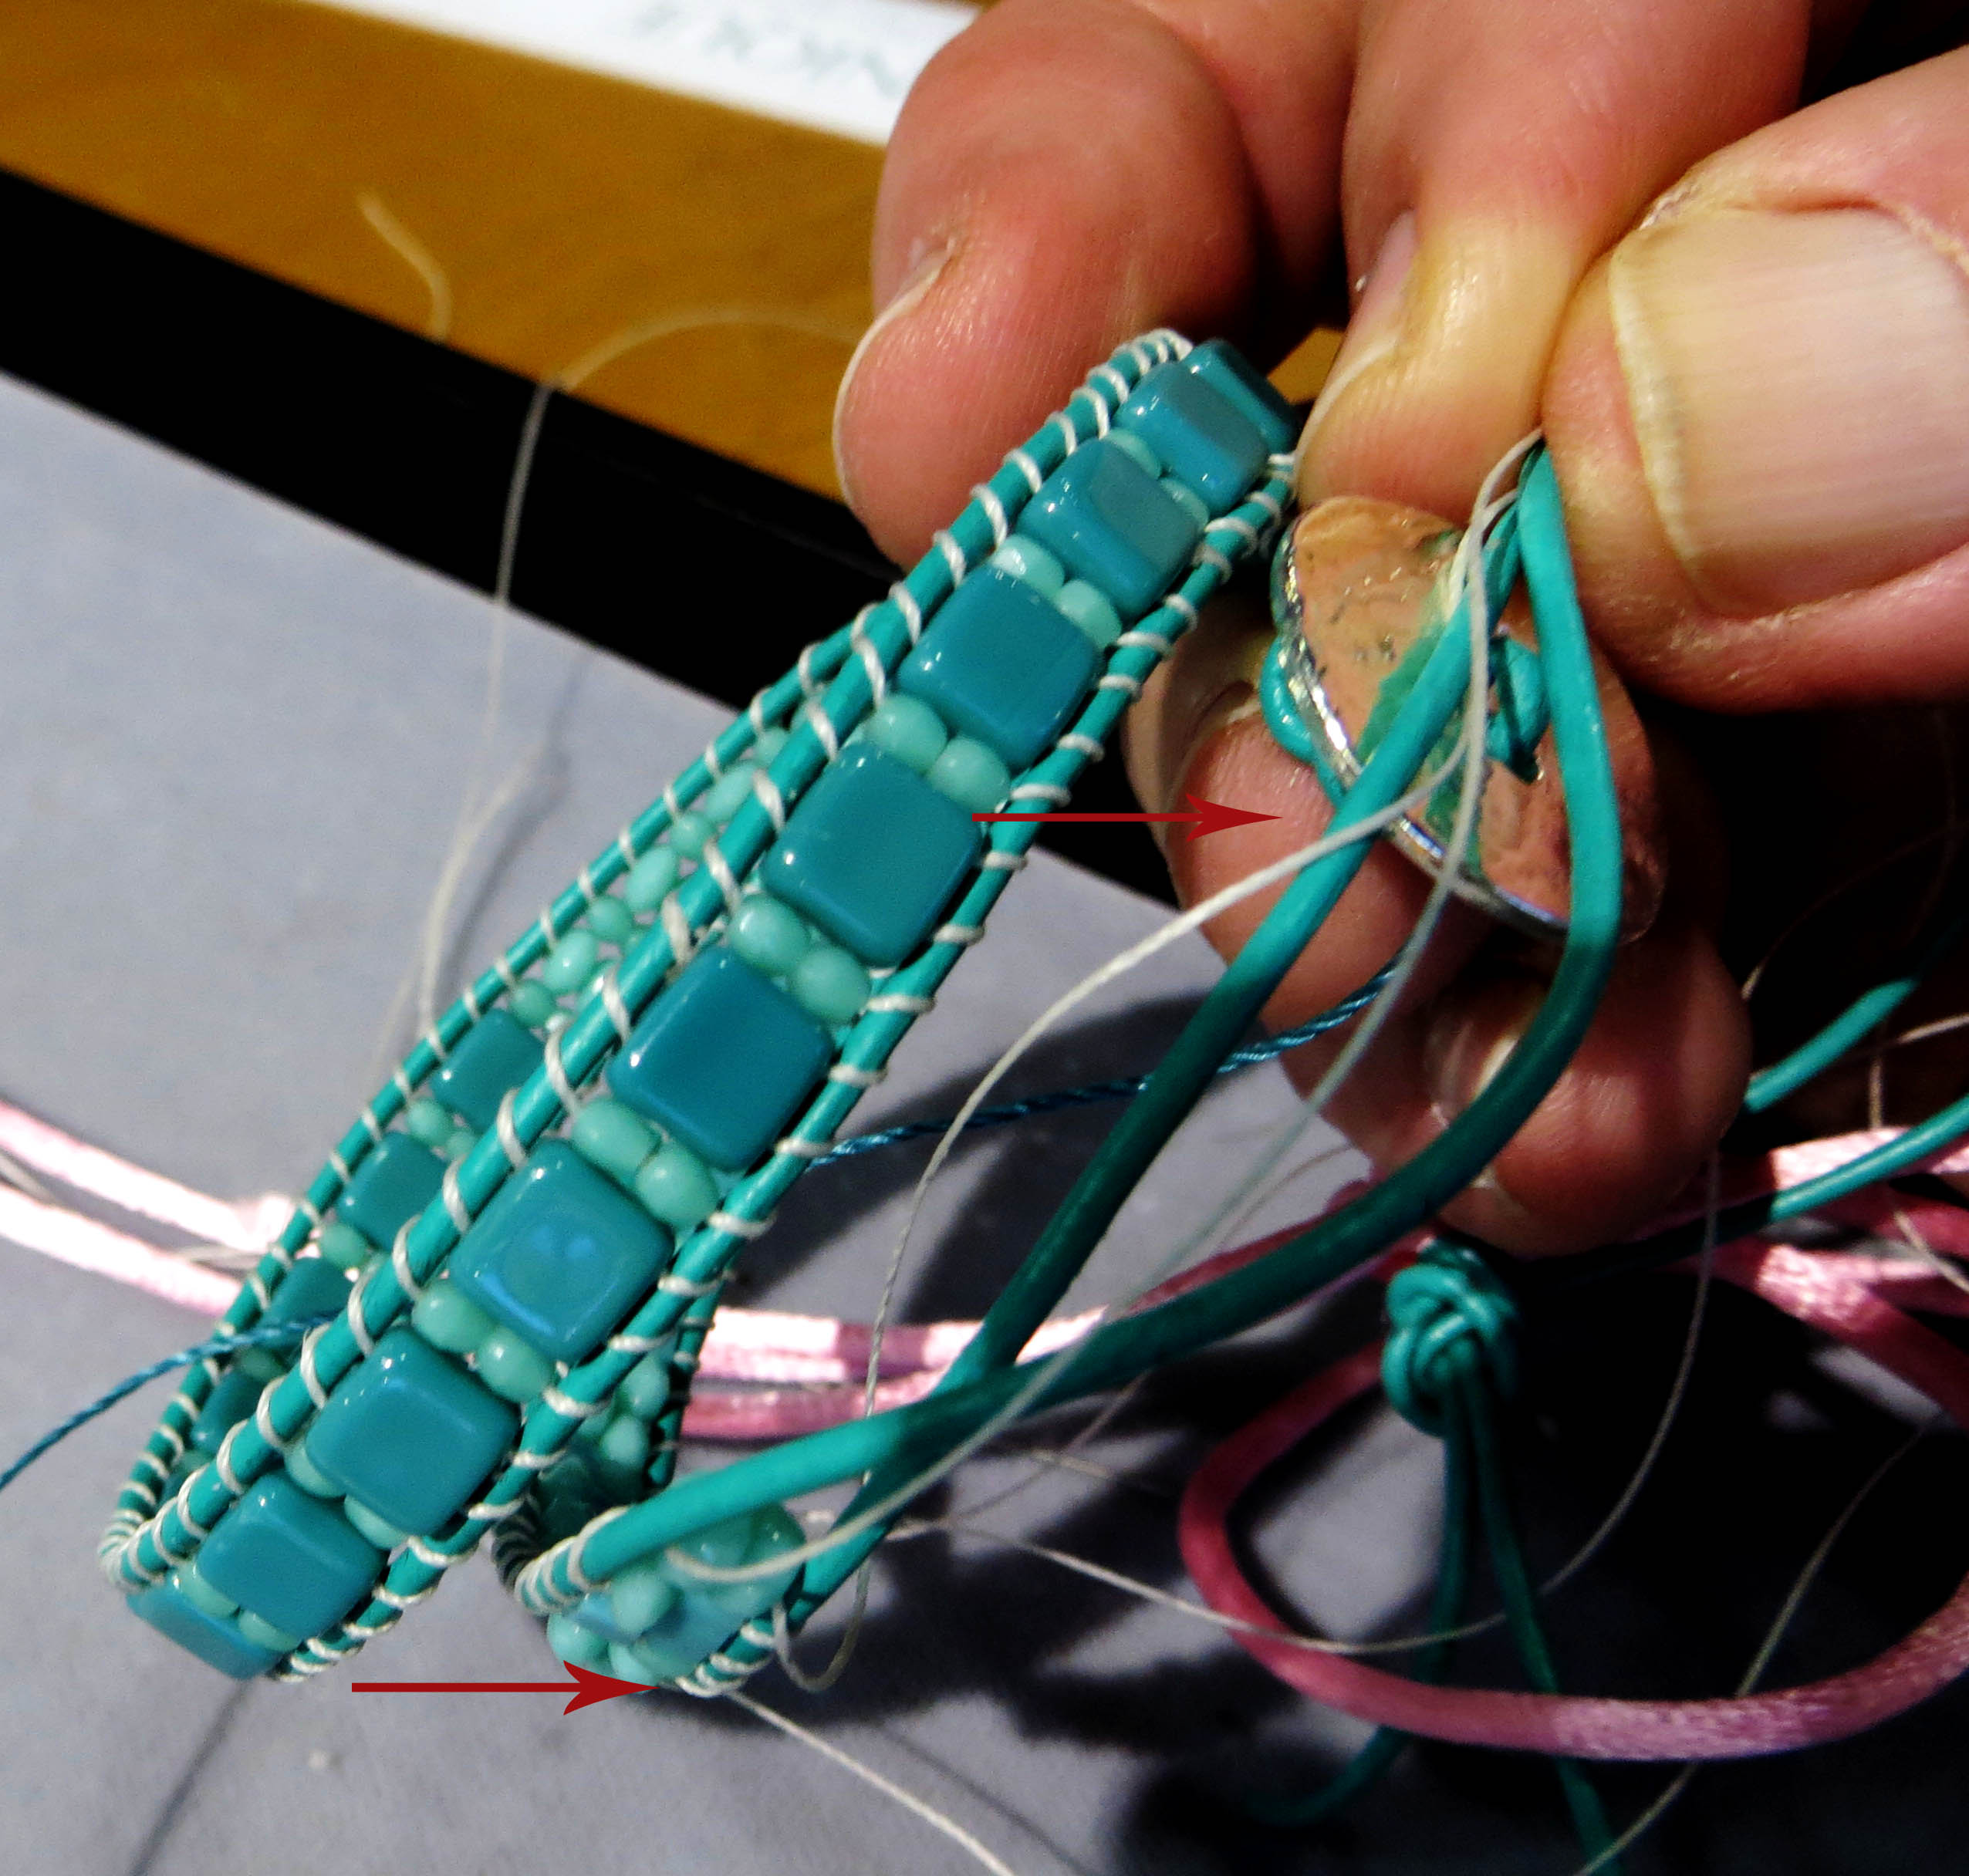
Wrap Aztec Mosaic Designs Around Your Wrist! Learn the simple 2-needle approach for creating a 2-wrap bracelet using 1-hole, 2-hole, and a combination of 1- and 2-hole beads in the design. 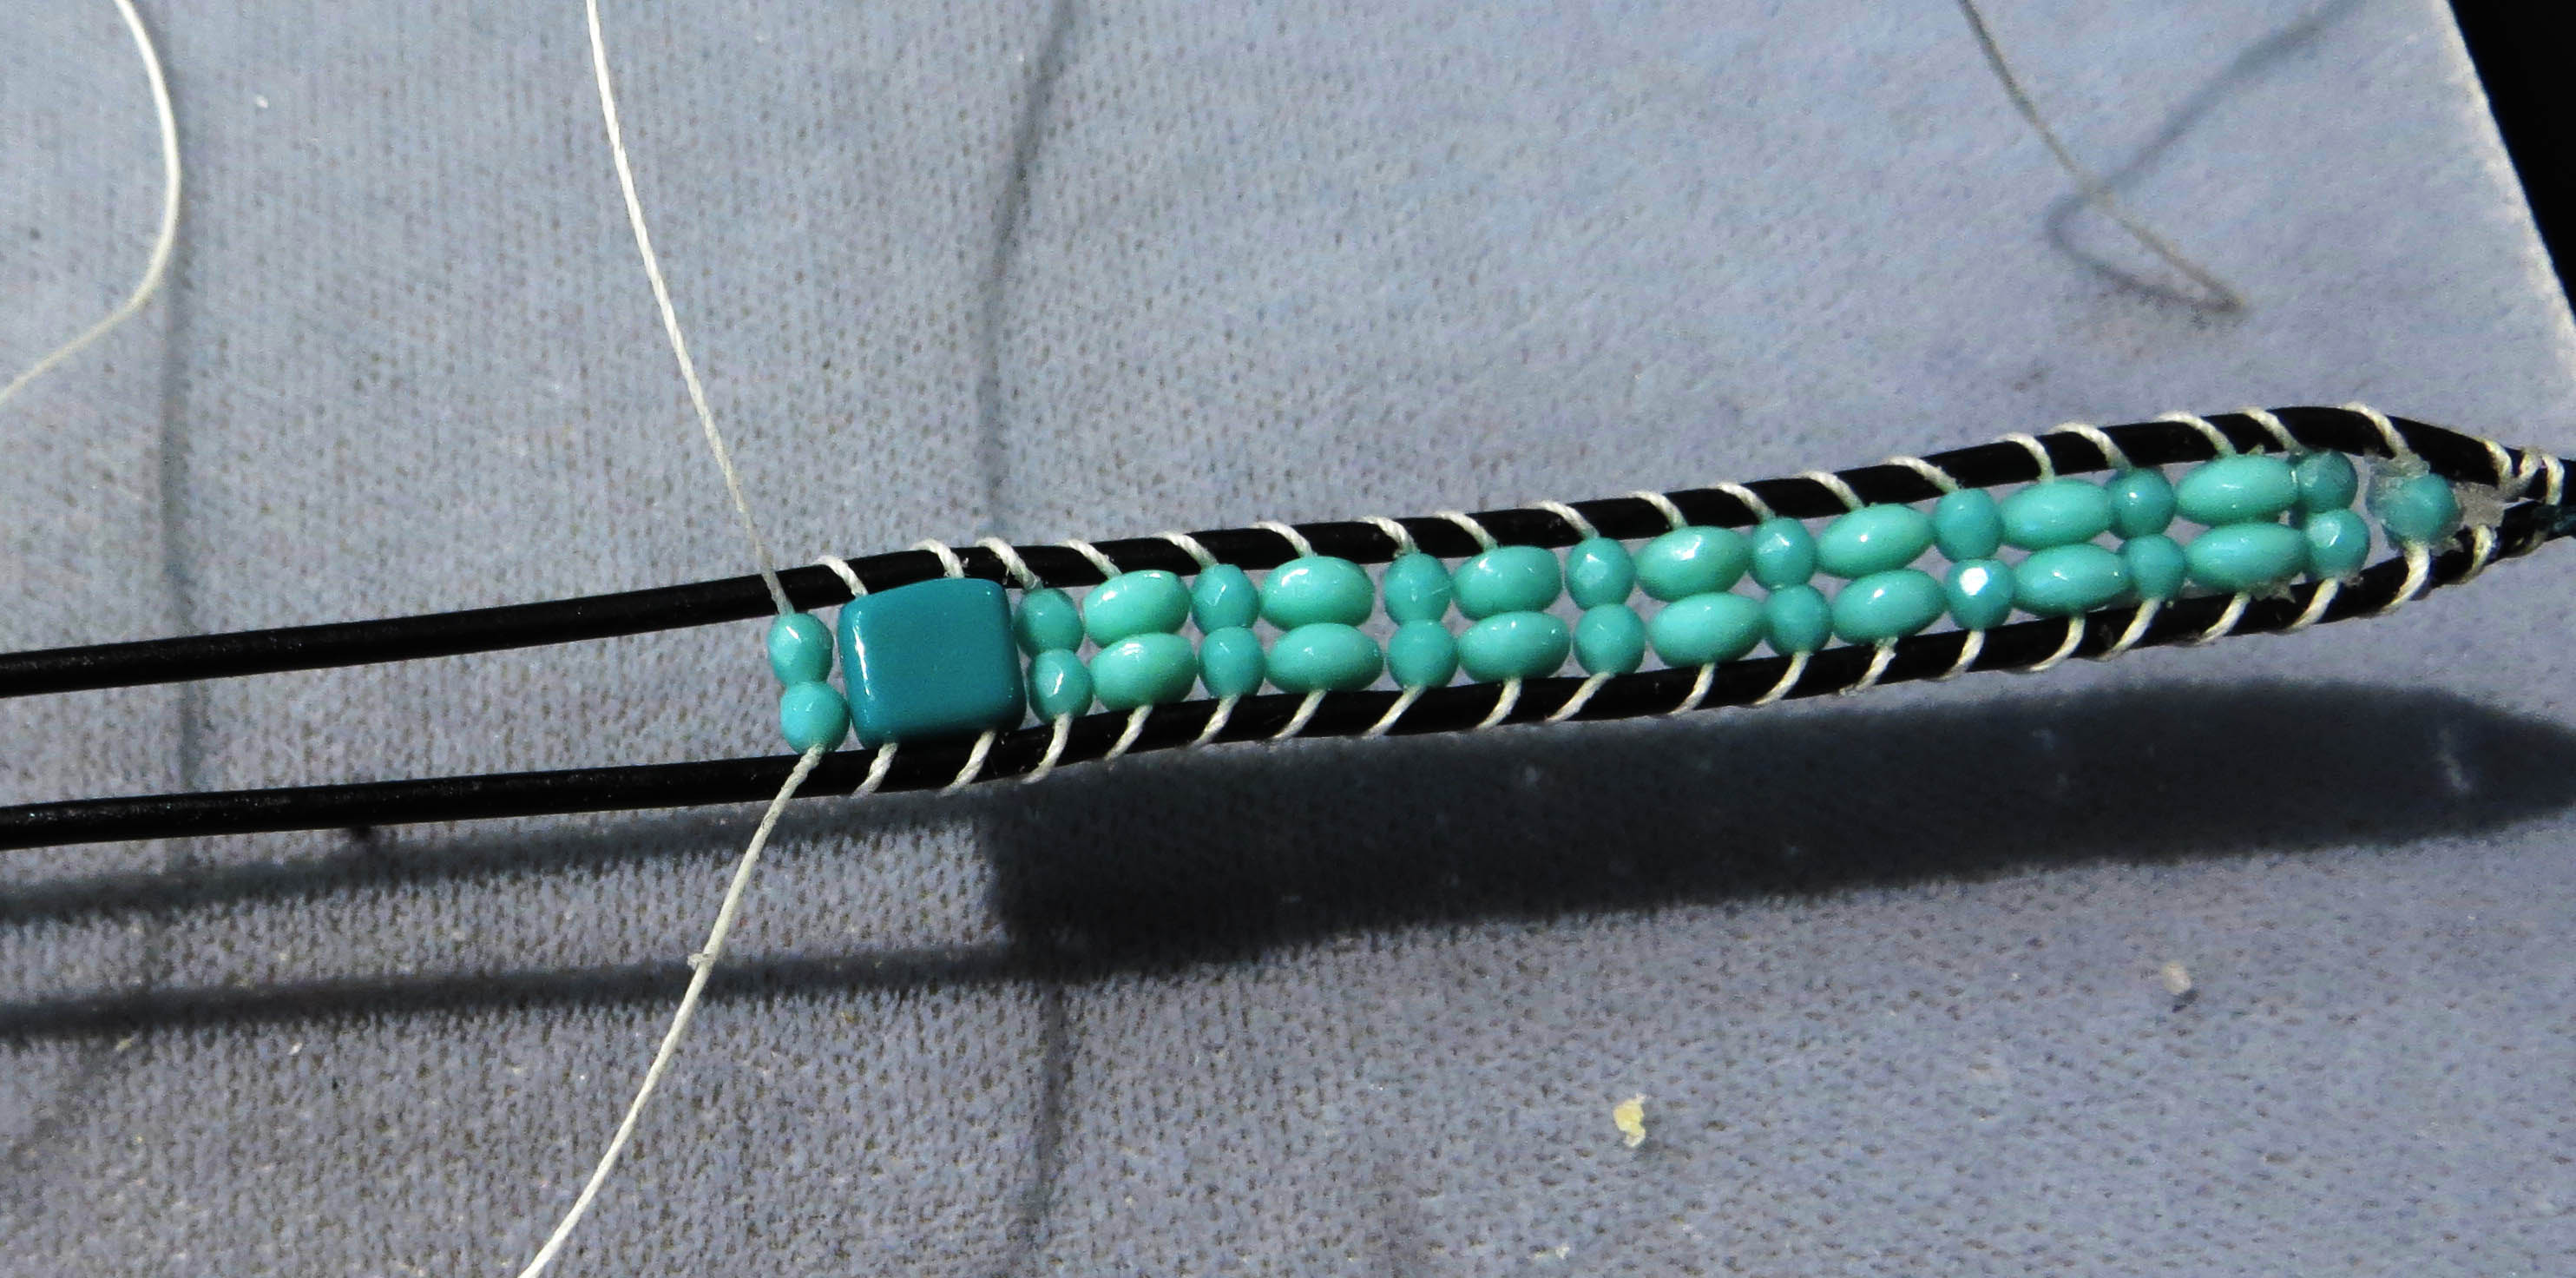 Wrap Bracelets are constructed using a technique strongly related to loom weaving, with influence from basket weaving. The technique used to weave Wrap Bracelets is typically referred to as “laddering”.
Here, you set up two warp cords (the leather) and weave, using either a Soumak or a Basket Weave Figure 8 pattern, to create a composition between the two warp cords. This composition can be as simple as a single column of beads, or it can be more complex using loom or cross stitch patterns within the warp cords, or even a combination of different sized beads along the length.
There are many choices involved when creating a Wrap Bracelet. Each has its pros and cons. In this class, we make our choices about approach and materials based on considerations of durability in particular, but aesthetics as well.
ABOUT THE AZTEC WRAP BRACELET PROJECT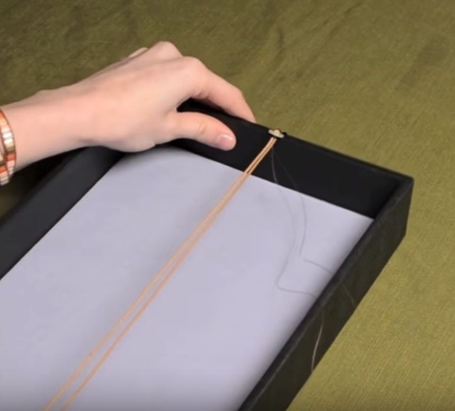 You want the…
WHAT YOU WILL LEARN...
In the AZTEC WRAP BRACELET project, you will learn how to plan out a Wrap Bracelet design, selecting materials, use a 2-needle approach for stitching, make a silk wrap to secure the ends and the button hole, and ladder using 1-hole, 2-hole, and a combination of 1- and 2-hole beads in the design. - materials needed - one-needle vs 2-needle approaches - soumak vs. bead weave figure 8 thread pattern My kit projects are part of our overall education program at Be Dazzled Beads in Nashville. These kits are developed within what is called The Design Perspective. The Design Perspective focuses on how the jewelry designer and bead artist make choices about... -what to do, and not do -what to include, and not include -how to balance off conflicting demands between beauty and functionality. THE AZTEC WRAP BRACELET Every participant receives a Project Guide Book |
In the Project Guide Book, I first guide you through this project's planning process. That is, I discuss the types of choices I made, when creating this piece. These choices include things about technique, color and materials, and about form, structure and function. I discuss how I leveraged the architectural strengths of each stitch to achieve my overall goals.
Then, I go over, in detail, with many illustrations and diagrams, step-by-step, easy-to-follow instructions.
The Project Guide Book Table of Contents:
30 Pages, 58 images, 3 diagrams
BASIC STEPS
1. Measurement
2. Selecting materials
3. Getting Started (button side)
4. Preparing Work Board
5. Silk Wrap
6. Continuing: The 2-needle soumak technique
-- Summary of Basic Steps
7. Finishing the other end: ending the beadwork, the second silk wrap, making the loop, and dealing with the tails
With This Kit, You Will Receive...
- Step by Step instructions with text, diagrams and images
- leather cord
- micro bead cord
- half Tilas
- 2mm Round Fire Polish beads
- CzechMate Tile Beads
- 2x3mm Fire Polish belly donut beads
- Knotting cord
- Pewter button
- Twist wire needles and Size #10 English beading needles
- Rat tail string
- decorative large hole beads
- Plastic case with lid for carrying these supplies
What You Will Need To Have On Hand...
Scissors
two chain nose pliers
flush cutters or side cutters
work board tray and tray insert pad
ruler
tape measure
bic lighter or thread zapper
g-s hypo cement
bees wax or microcrystalline wax
About Warren Feld 
"Jewelry Design Is A Life Lived With Wearable Art" -- Warren Feld
For Warren Feld, Jewelry Designer, beading and jewelry making endeavors have been wonderful adventures. These adventures, over the past 31 years, have taken Warren from the basics of bead stringing and bead weaving, to wire working and silver smithing, and onward to more complex jewelry designs which build on the strengths of a full range of technical skills and experiences.
He, along with his partner Jayden Alfre Jones, opened a small bead shop in downtown Nashville, Tennessee, about 30 years ago, and called it Land of Odds. Over time, Land of Odds evolved from a bricks and mortar store into a successful internet business – www.landofodds.com . In the late 1990s, Jayden and Warren opened up another bricks and mortar bead store – Be Dazzled Beads – in a trendy neighborhood of Nashville called Berry Hill. Together both businesses supply beaders and jewelry artists with all the supplies and parts they need to make beautiful pieces of wearable art.
Warren leads a group of instructors at Be Dazzled Beads. He teaches many of the bead-stringing, jewelry design as well as business-oriented courses in the curriculum. He works with people just getting started with beading and jewelry making, as well as with the program’s advanced bead study groups.
His pieces have appeared in beading and jewelry magazines and books. One of his pieces is in the Swarovski museum in Innsbruck, Austria.
LAND OF ODDS
BE DAZZLED BEADS Your Partner In Design
718 Thompson Lane, Ste 123
Nashville, Tennessee 37204
(615) 292-0610
www.bedazzledbeads.com
EMAIL: oddsian@landofodds.com
warren@bedazzledbeads.com
To add your name to our emailing list, visit our website
VIEW OUR CALENDAR SCHEDULE ONLINE You can REGISTER FOR CLASSES ONLINE,
as well as in the shop or by phone. Explore all of our bead weaving, bead stringing and jewelry design kits! 
Join our NASHVILLE BEADING AND JEWELRY DESIGN  GROUP on line
to get announcements about our Wednesday afternoons
and once-a-month Saturday beading/jewelry making get-togethers.
No fees.
THE JEWELRY DESIGN DISCUSSION GROUP
Please join our group on facebook at:
https://www.facebook.com/groups/jewelrydesign/
 Loading... Please wait...